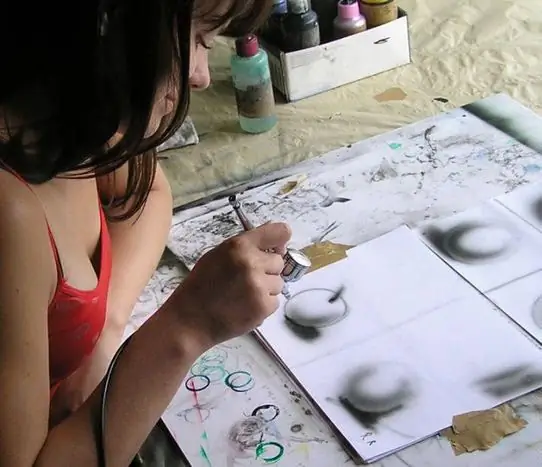
Airbrushing is a modern painting technique that is not often used to create independent works of art. But it is very much in demand for creating decorative drawings on a variety of objects (computers, cars, various household appliances, and so on). Working with an airbrush may seem difficult for a novice artist, even if he previously had experience with a pencil and a brush, but with regular training, each of you can easily learn this spectacular and beautiful painting technique.

Instructions
Step 1
Prepare a compressor, an air hose, a double-action airbrush, as well as a sheet of cardboard and high-quality black airbrush paint for work - you will not need paint in other colors for the initial exercises, since your task is to learn how to work with the airbrush with confidence.
Step 2
Take the airbrush in your right hand and hold it as you are holding a ballpoint pen with your index finger on the trigger. Practice holding it in a comfortable way without straining your arms or upper body. The airbrush should be perpendicular to the surface you are painting on.
Step 3
To get started, learn how to draw a straight and neat line across the sheet that you have chosen for training. To do this, remember the sequence of actions - first press the button and open the air, then pull the button to supply paint, then move the trigger forward and begin to gently move the airbrush along the surface, and in the process open the paint supply.
Step 4
When drawing, leave the air open so that the lines are straight and clear and the paint does not splatter. Experiment with line thickness - if the tip of the airbrush is close to the paper, the line will be sharper and thinner, and the further the tip of the airbrush is from the paper, the wider and more diffused the line will be. Once you start to get confident and neat lines, learn how to draw a clear and even point.
Step 5
The dots should be uniform and perfectly round. Continue training until you achieve this effect, and then begin to connect the points together with straight and thin lines. Do not forget about the constant supply of air during the drawing process.
Step 6
Once you've learned how to draw points and lines, begin to master the shading technique necessary for drawing volumetric images. Try to make a volumetric ball out of an ordinary circle - to do this, determine where the light is falling on the object, and accordingly direct the tip of the airbrush to the center of the object. Follow the shape of the circle, directing the airbrush to shade the parts you want and keep some areas lighter.


