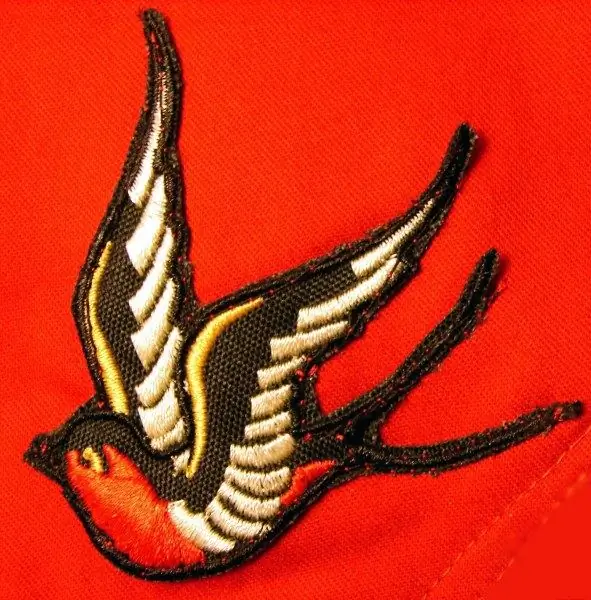
Birds can often be seen on embroidered tapestries, tablecloths, and towels. Such embroidery is also appropriate on clothing in the folk style. The technique of execution depends on what kind of bird will be on your product. The bird can be stylized like a hardanger ornament, or it can be quite realistic. In the latter case, a cross, tapestry or satin stitch is more suitable.

It is necessary
- - linen or cotton fabric;
- - floss threads;
- - canvas;
- - embroidery needles;
- - embroidery hoop;
- - a picture with a picture of a bird.
Instructions
Step 1
Choose a picture. For embroidery, designs with a small amount of small details are more suitable. The bird should be in its characteristic pose. She can sit on a branch or fly with her wings spread. For a peacock, it is better to choose a front view so that its luxurious tail is visible. For an embroidered product, photographic accuracy is not at all necessary. The bird can also be stylized.
Step 2
If you don't know how to draw, find a suitable picture of a bird. Scan it. You can turn it into an outline drawing in Adobe Photoshop. To do this, use the "Filters" tab. Select the "Sketch" function, and in it - "Photocopy". In the window that opens, enter the settings. Pick the maximum amount of black and preview. If there are too many strokes, go back to the previous step and decrease the value. Remove unnecessary lines, leaving only the outline and borders of color spots, if any. For the smooth surface, such a pattern will be enough.
Step 3
For a cross and other counted stitches, in the Image tab, find the Correction function, and in it - Posterize. Set the levels. The fewer there are, the fewer flowers will remain. Next in the "Filters" select "Appearance" and "Mosaic". Set the square to the size you want. For convenience, you can turn on the grid. Since when embroidering with a cross or tapestry, the pattern can not be transferred to the fabric, such a pattern for embroidering a bird is quite enough.
Step 4
For ironing, transfer the design to the fabric in the way you would normally do. You can translate it through a carbon copy or by spraying, puncturing holes along the contour of the bird at a distance of 0.5 cm from each other. Remember to apply all the details.
Step 5
Wrap the fabric. Sew the outline with small stitches with a needle-forward seam. Select the threads with which you will embroider this part.
Step 6
When sewing a bird in satin stitch, it is very important to choose the correct direction of the stitches. For example, if your bird is flying, overlay stitches across the wings. On the front line of the wing, they should be in close contact, that is, make the punctures literally through one thread. At the bottom line, the stitches diverge slightly. If the wings are colorful, it is better to embroider them in several steps. Complete the top with one color. Start stitches for the second row just above the line separating the color spots so that the punctures are between the threads of the previous row. This method makes the embroidered feathers look like real ones. Sew the tail in the same way, only the stitches should start from where the tail meets the torso.
Step 7
The bird's body is an oval. Fill it with stitches across the long axis. The stitches will vary in length, but they should fit very tightly.
Step 8
The head can be embroidered in several ways. Very often the strokes run parallel to one of the diameters, that is, they again turn out to be dense and of different lengths. But you can do it differently.
Step 9
Find the center of the circle. Imagine a lot of radii coming out of it. Run stitches over them. You will have a small circle in the center. At this point, you can make an eye. In different types of embroidery, such small ornamental elements are made in different ways. You can embroider it with a simple or French knot, sew on a bead, or even leave it as it is.
Step 10
The paws are best done with some kind of contour seam. For example, stalked, "back to the needle" or short transverse satin stitches.


