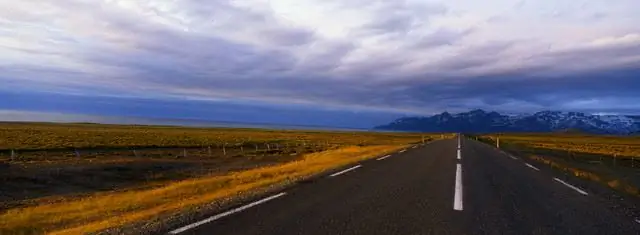
Panoramic photos immediately grab the viewer's attention with their unusual format, but the standard camera matrix does not allow creating such masterpieces at the touch of a button. It takes a lot of work to get a beautiful panorama.

It is necessary
Camera, tripod, graphic editor
Instructions
Step 1
In the production of a panorama, two main points can be distinguished: shooting the necessary photographic material and bringing it together in a graphic editor. The easiest way to take photos is with a camera mounted on a tripod. As a last resort, you can do without it, but then you will have to very carefully shape each frame, taking into account the previous one.
Step 2
Focusing on the lighting, select the appropriate exposure pair for the given conditions. In any case, the aperture will need to be opened at least 10 to get sharp footage across the entire area. You can, of course, take pictures in automatic mode, but the likelihood that the camera itself will change its settings for each frame becomes too great, which will significantly complicate the subsequent work on the panorama.
Step 3
Take several shots, shifting to one of the sides so that the next frame overlaps the previous one by 20-25 percent. After a couple of shots, you will see for yourself that it is much easier to do this with a tripod.
Step 4
Transfer the finished photos to your computer and open a graphic editor. The panorama can also be glued in Photoshop, but those who do not have it can download a special free utility Image Composite Editor from the Microsoft website.
Step 5
After installing the utility, simply transfer the finished frames to the windows intended for them, the program will do the rest of the work for you. You can modify the finished panorama according to your ideas by changing the contrast, brightness, saturation, cutting off excess space, and so on.


