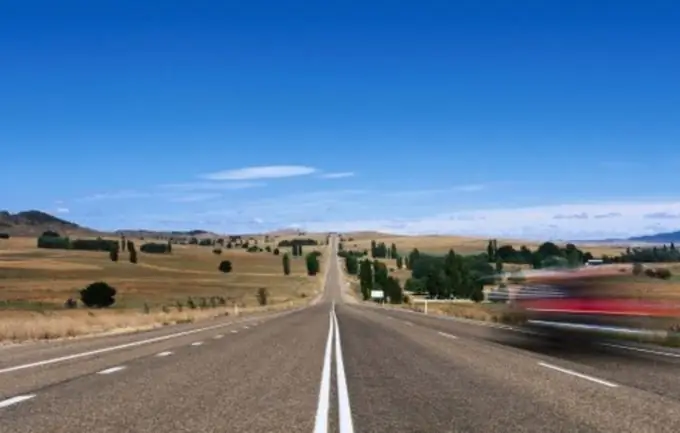
Surely, looking at the next portion of the landscapes you made with the camera, you ask yourself why you were not born an artist. Again, everything that you wanted to capture was not captured in the frame? Yes, the artist is not limited by the size of the canvas. Only you can photograph not a piece torn out of the general background, but a whole panorama, just follow our simple instructions and, voila! - you can enjoy beautiful pictures.

Instructions
Step 1
Buy a tripod. Thus, you can avoid blurring the frame due to shaking hands, and when you combine multiple photos into a panorama using a special program, you will not need to combine, cutting and pasting too much.
Step 2
Not every landscape is good for a panorama. Choose carefully. Decide on the number of semantic centers of your future elongated photo and on the main thought, idea or emotion that you are going to express.
Step 3
The frame should not be homogeneous and empty. Place large elongated objects at the edges of the intended picture, this will keep the viewer's gaze on the semantic centers.
Step 4
A good panorama with a slightly shifted bottom or top edge, slightly curved or concave, this makes the image more voluminous. This effect can be achieved by positioning the camera so that a subject is shot in the foreground and the background is slightly blurred.
Step 5
Shoot all frames without changing the settings on the camera. When photographing foreground subjects, consider the width of the viewing angle (avoid distortion of geometric proportions).
Step 6
Take panoramas only in AV (aperture priority) mode. Select exposure settings downward if you are in doubt about the correctness of light and dark areas of the required shooting angle.
Step 7
Use the highest aperture number on your camera. Aim the lens at the semantic center of the frame. Press the trigger. Remember the shutter speed, which was set by your camera automatically, taking the picture.
Step 8
Remember the nuances of opening the aperture and setting the sensitivity, depending on the illumination and time of day, as well as the predominance of black and white in the frame. In bright sunlight, select the largest aperture value (7, 6 to 11, or 16). At dusk, set the lowest value (2, 8).
Step 9
Set the camera to manual mode (M), adjust the settings you need and enter the memorized shutter speed.
Step 10
Shoot the panorama very quickly (before the lighting changes). Turn the camera from left to right, avoid sharp turns.
Step 11
Remember that a stunningly beautiful shot does not come out on one try. Review the taken frames and glue them in a special program.


