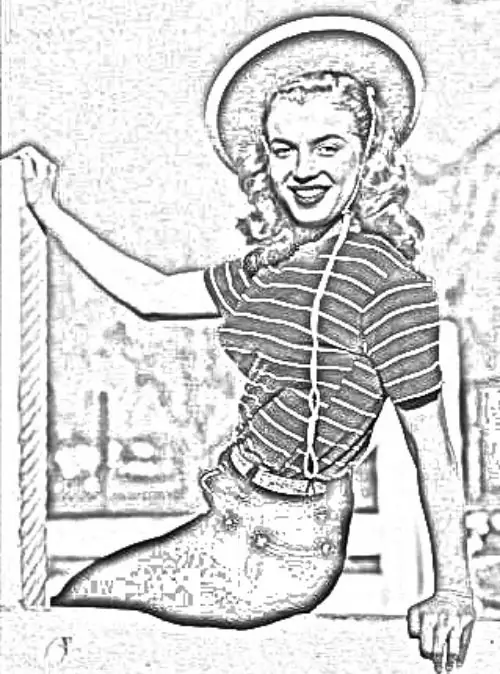
You are not an artist or a Photoshop master, but you have an irresistible desire to make your photo original and unique, with the effect of drawing with a pencil. Any non-advanced user can do this. The main thing is desire and creativity.

It is necessary
Computer, internet, photography
Instructions
Step 1
If you do not use the Yandex.fotki service, then you need to go to the Yandex website at the link https://fotki.yandex.ru/program. On the page that opens, download a free program - Yandex.fotka photo editor.
Step 2
Open the photo in Yandex.fotki that you want to take with the effect of drawing with a pencil. To do this, place the cursor on the desired photo, right-click and select the "Open with" option. Then from the offered list of programs choose "Yandex Fotki". After your photo has opened in the photo editor, on the bottom toolbar, find the "Open Image in Editor" icon (an image of a glass with a brush and pencil). A page will open with the photo editing toolbar on the right.
Step 3
On this panel, select the "Visual Effects" section and click on the "Make a sketch" icon. The image in your photo is converted to a pencil sketch (photo drawn in pencil). In this section, you have the opportunity to self-adjust the image by adjusting the contrast and impact strength. To do this, place the cursor on the corresponding slider and drag it until the desired result is obtained in the photo.
Step 4
Additionally, you can automatically adjust your edited photo. To do this, select the Masterpiece icon (Start automatic processing) on the lower toolbar. This icon is presented as a framed image.


