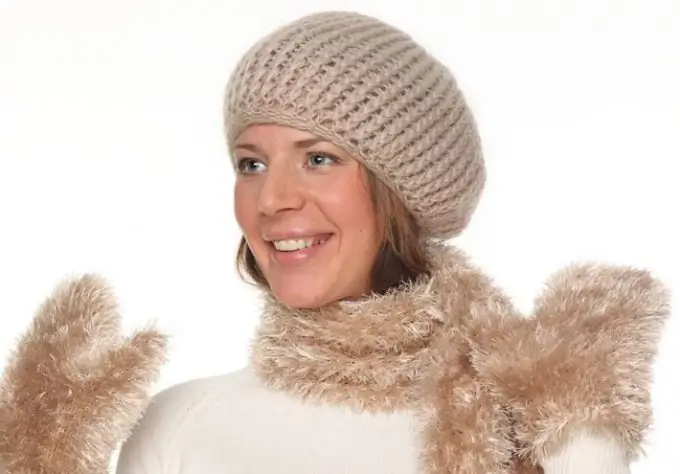
A modest knitted hat has turned into a stylish headdress that is interesting to knit and pleasant to wear. In order for the hat to fit snugly around the head, keeping warm, and made neatly, it is important to adhere to the basic rules and recommendations when knitting.

It is necessary
- - yarn;
- - knitting needles;
- - decorative elements.
Instructions
Step 1
Start knitting the hat from the bottom. Choose a pattern and calculate the number of loops you need to dial. To do this, tie a sample measuring 15x15 cm. Focusing on the central part of the sample, determine how many loops are obtained in knitting in one centimeter in height and in width. Multiply the number of loops in width by the girth of the head. In the process of knitting, the product often stretches, so when calculating, reduce the head circumference by 2 cm.
Step 2
Having typed the required number of loops on the knitting needles, start knitting an even part of the cap of the desired height. If the hat has a lapel, do not forget to add its size to the height of the product.
Step 3
After the flat part is ready, proceed to the formation of the bottom. To make it neat, you need to make uniform reductions. To do this, divide all stitches into 6 gussets and mark the first stitch of each with pins or pieces of colored thread. Perform decreases at the beginning of each wedge, while the second decrease will be only in the fourth row, and all the rest in each subsequent row.
Step 4
When there are 1-2 loops of each wedge left on the needle, cut off the thread and leave an end about 50 cm long. Using a needle or hook, pull it twice through the free loops, tighten and use it to sew the back seam.
Step 5
Cut off all ponytails remaining on the cap when changing colors, leaving 4-5 cm, and hide the ends inside the product. This task is easy to accomplish with a loop lifter or a thin hook.
Step 6
The final stage of work is finishing. The most difficult finishing option is embroidery. You can decorate the hat with a cross and satin stitch, pointwise and over the entire surface. You can use the thread pulling technique, in which the decorative thread passes through the knitting holes in different directions with simple stitches. You can also sew on beads, beads, sequins, or pin a matching brooch. The main thing in this business is moderation and a sense of taste.


