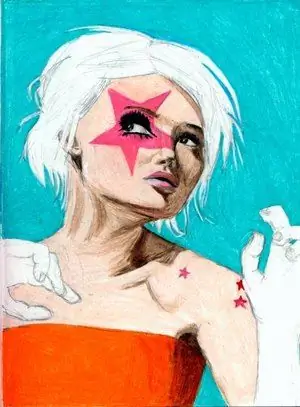
Any portrait or just a photograph can be depicted in pop art style. This trend in art became popular thanks to Andy Warhol, who created collages from the most unexpected things. It's easy to create images in this style, especially if you are proficient with Photoshop.

Instructions
Step 1
It is desirable that the photograph has clear boundaries, and the person looks directly into the camera lens. First you need to cut the object from the native background and place it on the new one. It is important that the subject and background are in different margins. If the background is solid, use the Magic Wand tool; if not, use the Pen tool to select it.
Step 2
Pop art images are famous for their very high contrast. Place a bright background under the working layer, that is, under the layer with the object.
Step 3
Now add more contrast to the image. Make sure to be on the object's layer. Select "Image - Adjustment - Threshold" (Image -> Adjustment -> Threshold). In the auxiliary window, move the slider so that there are enough shadows, and the object retains its shape and outlines.
Step 4
Select the parts of the image that you will paint in colors. Copy each of them to its own layer. To do this, use the keys alt="Image" + Ctrl + J. Give a name to each layer. Change the blending mode to Multiply. Click OK.
Step 5
Activate each layer in turn (Ctrl and click). Go to the menu "Editing - Fill" (Edit -> Fill). Click on the "Use" line. In the window that opens, select the "Color" line. A palette of colors will appear, choose a color of your choice.
Step 6
Double click on the layer. The Layer Style window will open. Select Fill With Color. Change the "blending mode" (blending mode) to "Color" (Color). Select the desired color, click OK. Repeat this procedure for each layer.
Step 7
Save the image in.psd format, make copies of the painted layers. Now you can very easily replace the color of this or that area using the "Hue / Saturation" (Hue / Saturation).


