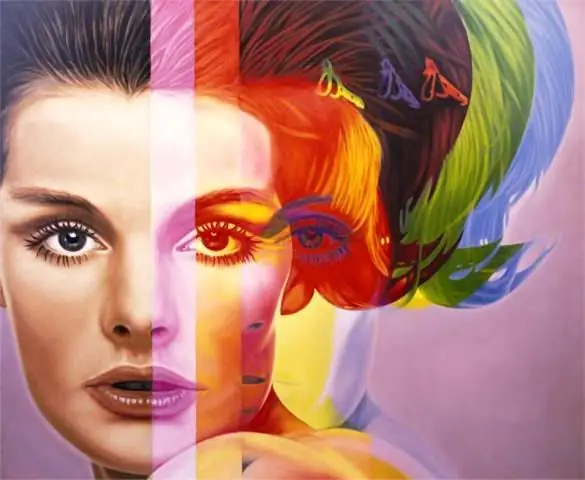
Since the days of Andy Warhol, painting in the style of pop art has been an extremely popular trend. But what if you dream of getting your image in pop art style, and, at the same time, do not know how to draw? Adobe Photoshop tools come to your rescue, which you can use to stylize any of your photos with pop art.

Instructions
Step 1
Open the selected photo in Photoshop and then duplicate the main layer (Duplicate layer). Change the Blending Mode of the layers to Color Dodge. Now press Ctrl + Shift + I, invert the image, and then open the Filter menu and set a Gaussian Blur with a blur radius of 7 pixels.
Step 2
Right-click on the top layer in the layers palette and select the Threshold parameter from the context menu to create and configure a new adjustment layer. Set the Threshold Level to 234 and click OK.
Step 3
Now create another new layer and set the blending mode of the layers to Multiply. Select the Brush Tool from the toolbar and gently paint the skin in the photo with a flesh tint on a new layer. Set the color with which you paint the skin as the main one, and set the white color as the secondary one.
Step 4
Now open the Filter menu and select the Sketch section. In the menu that opens, select the Halftone subsection. In the window that opens, under the Halftone Pattern item, set the values: Size 2, Contrast 50, Pattern Type Dot. The shaded area in the photo will acquire the dotted texture characteristic of the pop art style.
Step 5
Create a new document with a transparent background (Transparent), 40x40 pixels. In a new document, create a new layer, fill it with black, then create a second layer and take the Pencil from the toolbox, and then draw a pattern of white crosses on the black background.
Step 6
Delete the black background layer, then open the Edit menu and select Define Pattern to create a new texture.
Step 7
Now open your photo document again and create a new layer. Set the blending mode to Overlay again and paint the clothes in the photo with a different color.
Step 8
Change the Layer Style parameter to Pattern Overlay and select the just created texture from the crosses from the list of textures. Apply this texture to the hair and other parts of the body, and the background parts of the photo. The drawing is ready!


