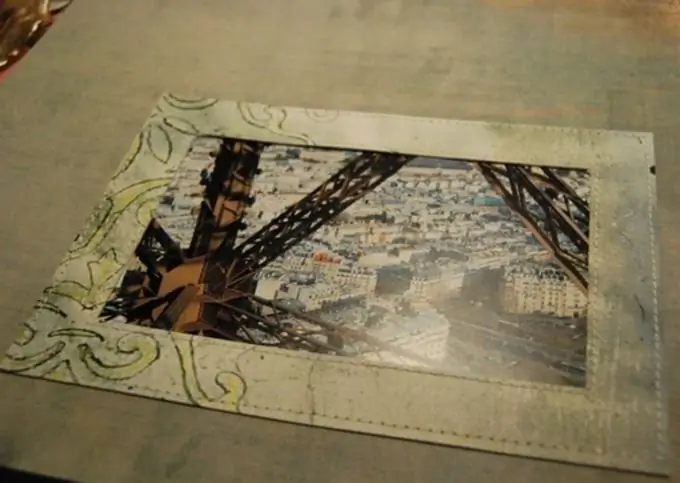
A well-taken picture is able to preserve this or that interesting event in our memory for a long time. But any good thing requires an appropriate frame. Of course, you can purchase a ready-made photo frame, but it is much more pleasant to make it out of paper with your own hands, involving children in this activity.

It is necessary
- - thick colored paper or thin cardboard;
- - ruler;
- - pencil;
- - scissors;
- - stationery knife;
- - glue.
Instructions
Step 1
Cut the frame out of thick colored paper to fit your photo. The shape of the frame can be very different - rectangular, square, round, oval. A frame of irregular asymmetric shape will look good. Make the frame a little larger than the photo.
Step 2
From a sheet of cardboard of a different color, cut out the same shape, but slightly larger (about a centimeter around the entire contour).
Step 3
On the back of the first shape, mark with a pencil where to place the photo. In this case, the thickness of the frame should be approximately the same on all sides. Use a sharp clerical knife or scissors to cut out a place for the photo along the drawn contour. Make the same cut in the second piece in the same way.
Step 4
Decorate the first part of the frame with applique, using colored paper or lace. It is enough to frame one of the upper corners of the frame. Attach the appliqué so that the edge of the appliqué goes over the edges of the frame when folded. Attach the folded part of the paper applique or lace to the wrong side of the frame with glue, press with your fingers and wait until the glue dries.
Step 5
Carefully glue both multi-colored frame blanks together. Apply the adhesive to the back of the smaller piece, spreading it evenly over the surface. Attach the second blank to this surface so that the cutouts for the photo line up. Place the parts to be connected under a light weight.
Step 6
From the next sheet of thick paper, make a pocket for a photo. To do this, cut the shape to fit the frame. Mark out the place for the photo by aligning the frame with the sheet and transferring the shape to the sheet. Add about 1 cm to the outline on each side. Apply glue to the edges of the envelope and attach to the back of the frame. After the glue dries, insert the photo into the frame.


