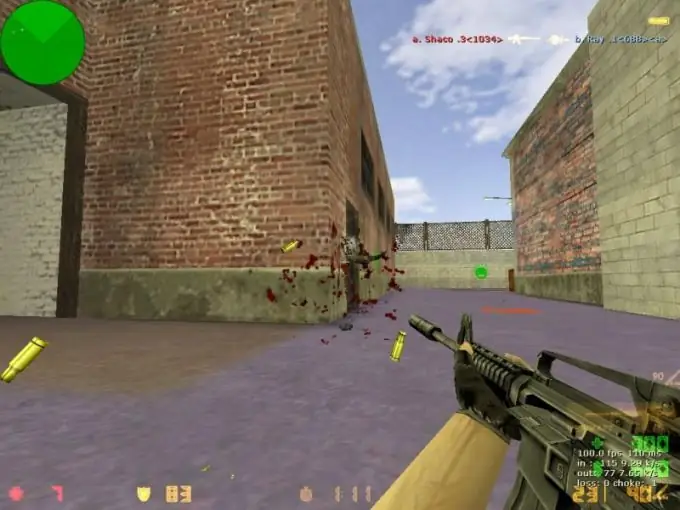
Counter Strike is one of the most famous and popular online games. You can easily create a game server on your own, which can be accessed by various players from the local network or from the Internet. To do this, it is enough to make the appropriate settings and edit the configuration files.

It is necessary
- - patch for Counter Strike game version 29 and higher;
- - hldsupdatetool.
Instructions
Step 1
To play over the Internet, you need to install patch 29 or higher. You can download it on the forums and portals dedicated to this network shooter. All patch packages are delivered as executable.exe files and come with an automatic installer.
Step 2
Download the ready server for Counter Strike 1.6. The official package is hldsupdatetool, which can be found on the official Steam website. Then right-click on hldsupdatetool.exe and select Properties. At the top of the window that appears, enter the following line:
hldsupdatetool.exe -command update -game cstrike -dir c: / server
The -dir c: / server command designates the directory where the server will be installed.
Step 3
Open Notepad (Start - All Programs - Accessories - Notepad) and enter the following line:
start / high hlds.exe -game cstrike + ip your_ip + port 27016 + sv_lan 0 + map game_card_name + maxplayers 32 -insecure -console
You can look at your IP on one of the special services for determining IP addresses.
Step 4
In the Notepad window, go to the File menu, select the Save As … command and save the file as hlds.bat in the folder where all the server files were unpacked.
Step 5
To configure the installed server, open the server.cfg file located in the / cstrike folder. The hostname variable is responsible for the name of your server. The mp_timelimit directive is responsible for the time allocated to the map. The mp_autoteambalance parameter is responsible for the automatic balance of the players in the team.
Step 6
If you want to install the AMX plugin on the server, then download it from the official Amxmod website. Copy the downloaded.amxx file to the cstrike / addons / amxmodx / plugins directory. Then open the cstrike / addons / amxmodx / configs / plugins.ini file and write the name of the copied file in the last line of the file. The installation and configuration of the server can be considered complete.


