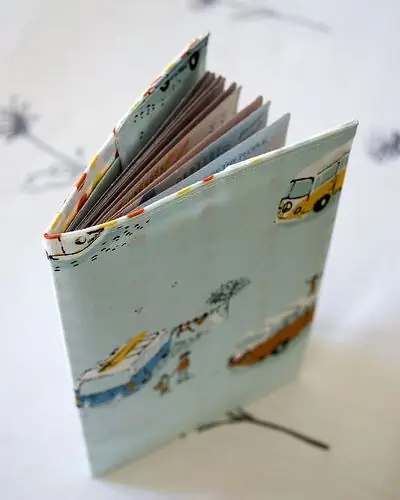
A passport is a very important document for any person. That is why many people think that such an important and serious document can only be placed in a transparent strict cover. Why not come up with a colorful cover for this personality identifier that will highlight your personality? This is what we will do.

Instructions
Step 1
First, get some scrap paper. This is a special paper, usually sold in sheets of 30x30 cm. There are single-sided and double-sided scrap paper, thin and thick. It is better to take thick one-sided paper of your favorite color. In the absence of such paper, you can print a beautiful background on a regular drawing sheet.
Step 2
In order not to miscalculate with the size, it is better to measure the "dimensions" not of the passport itself, but of the usual transparent cover for it. Measure it along the inner edge. The dimensions of each cover are approximately the same, but fluctuations of a few millimeters are allowed.
Step 3
Mark the dimensions you removed from the transparent cover on the blank side of the paper, and cut out the base for future cover. Place the cutout base in the transparent cover to make sure the dimensions are correct. Trim any excess if necessary.
Step 4
Having decided on the dimensions, mark on the paper the middle of the cover in which the sheet will need to be bent. To do this, attach a ballpoint pen, large needle (blunt end), crochet hook or knitting needle to the ruler and draw a line. Now the paper will easily bend without any creases or wrinkles right along the pressed line.
Step 5
It remains to decorate the cover. You can choose to decorate lace, as well as a ribbon to match. If you wish, you can experiment with other colors of paper, buttons, flowers and other decorations.
Step 6
Print your passport in your favorite font and color in almost any text editor. Cut out the lettering. So that it does not stand out strongly against the background of the cover, it needs to be somehow "aged". You can do this by holding the paper a little in tea or coffee, paint it with paint or something else. You also need to tint the edges of the paper with the inscription. Now "collect" all the decor elements into one piece using glue. Glue the inscription "passport" with double-sided tape. It's all.


