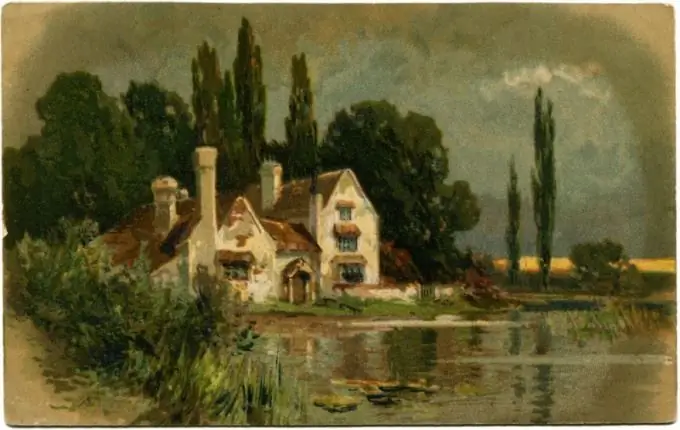
To draw any house correctly, you need to follow the rules of perspective. If you will only draw one side of the building, you will not need perspective, but you need to keep track of the size of your creation.

It is necessary
A sheet of paper, a pencil, an eraser, materials for work in color
Instructions
Step 1
Get the materials you need to work with. In no case use a ruler for your drawing, because you will not be engaged in drawing. Think about what kind of house you will draw: a fairytale hut, an ordinary rural hut or an ordinary comfortable house. With a simple pencil, start sketching.
Step 2
Draw a horizon line on a piece of paper, do not place it too high. Then choose whether you will draw one side of the house or you will be able to see the second wall near your building. In the first case, draw a square or rectangle (depending on what kind of house you come up with). In the second case, first draw a corner of the house (vertical line), and then draw two rectangles (or squares) in perspective from it. In perspective, vertical lines should tend to cross well beyond the horizon.
Step 3
When drawing a house in perspective, build the box first. Then "plant" the roof on it. From one wall of the house, you will need to build a roof triangle, and from the other - its sloping slope, a rectangle in perspective. For a "flat" drawing, draw a roof in the form of a triangle or trapezoid, as you wish.
Step 4
Outline the windows and doors of the house. Consider whether your house will have a porch. If so, outline the steps and (if you want) the roof of the porch, railings. Mark the thickness at the roof. Then draw the windows, frames in them. Indicate the curtains. If your house is built of wood, draw lines along the walls parallel to the "floor". Further in the drawing with paints (or pencils), you can show the volume of these "stripes" by turning them into logs.
Step 5
Sketch around the landscape, you can draw a small fence. Pay attention to the roof, its texture - tiles, wood, slate and so on, of your choice. Consider the design of your home. Draw the details of the landscape - tree trunks, a lake or other body of water, mountains, neighboring houses.
Step 6
Work in color in stages. Start with the background, then move on to the house itself. First apply the main color spots, then refine their texture, drop shadows. Make the foreground brighter and clearer.


