When you are tired of dull, boring notebooks, you can update them by making a very simple and beautiful cover. This method requires a minimum of time and materials. To make the cover, you only need plain paper, a printer and stationery.

It is necessary
- - 2 sheets of plain paper;
- - a sheet of thick paper (optional);
- - Printer;
- -scissors;
- -glue stick;
- - pens, pencils, sparkles;
- -notebook.
Instructions
Step 1
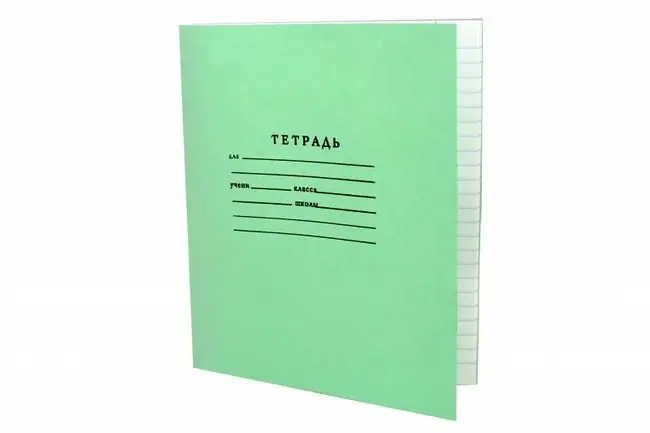
Take the notebook you want to change, measure it to determine the amount of paper. Most likely you will need 2 A4 sheets.

Step 2
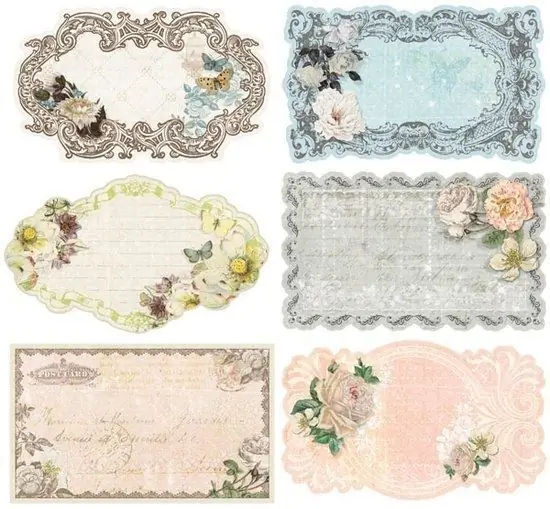
Find a picture you like on the Internet, pictures for backgrounds, or textured ones, are best suited here. They should not contain separate specific pictures, otherwise there will be no room for the signature of the notebook, or it will simply not look beautiful. Moreover, the entire drawing will most likely be printed out of the notebook format, and then part of it will have to be cut off. In addition to the background, find a picture for the signature, i.e. sticker or tag.

Step 3
So, after you have found a background or texture, as well as a picture for the signature of the notebook, you can start making the cover itself. Print the background on plain sheets and the tag on thick paper. Cut the tag. Cut the first sheet of the cover, but not according to the format, but add 1 cm to the right, 3 cm to the left, and do not touch the top and bottom yet. Cut the second sheet, adding only 1 cm to the size of the notebook on the left side.

Step 4
On the front side, glue the first sheet so that the distance that we added is right through. On the right, wrap the cover (1 cm) inward and glue, on the left, also wrap (3 cm) on the back side, glue. Now turn the notebook over with its back side, glue the second sheet to it exactly along the spine, so you will have 1 cm out on the left, wrap it up and glue it. Cut the top and bottom to the size of the notebook. The cover itself is ready, it remains only to complete it.
Step 5
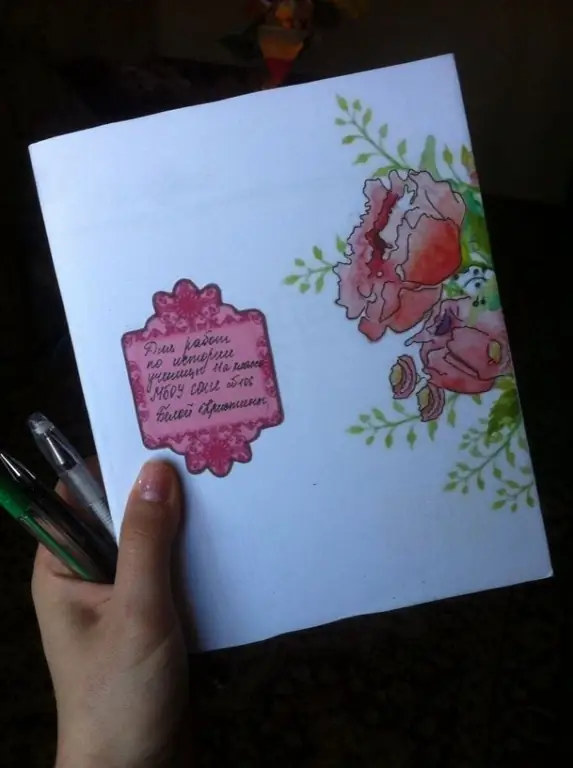
Glue the cut-out picture for the signature on the cover, write in it the subject or purpose of the notebook. Complete the cover to your liking. You can add sparkles, draw a picture if the background is light, draw a texture, or, well, glue decorative tape. A do-it-yourself notebook cover is ready. Let a beautiful hand-made notebook please you with its look!


