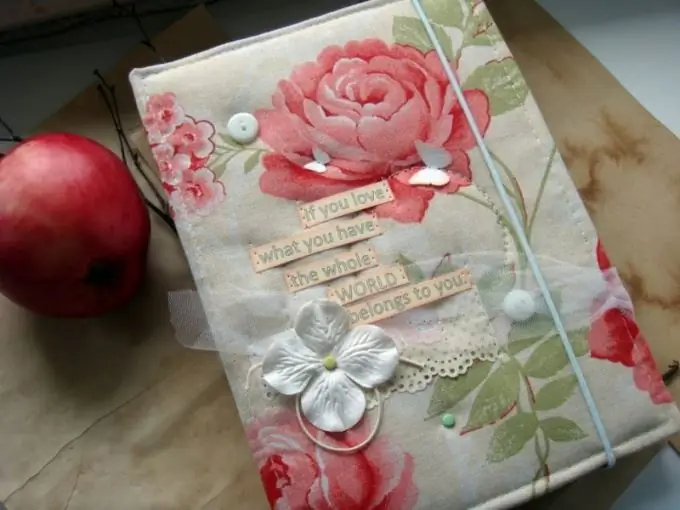
A notepad is a small notebook with tear-off sheets held together with a spiral or paper clips for notes and notes. You can buy a notebook at any stationery store, or you can do it yourself with a little effort and imagination. Making an exclusive item does not take much time, and the results will meet your expectations

In search of an unusual gift for a loved one, you can wander around the shops for hours and look at all kinds of banal goods in the windows, or you can spend quite a bit of time and make an exclusive gift with your own hands. An excellent present is a notebook that can be easily made from notebook sheets and decorated with beads, ribbons, lace or fabric. Having made such a wonderful gift for a loved one with your own hands, you probably want to make the same notebook for yourself.
Preparation for work
To make a notebook from a notebook, you will need the following materials and tools: a general notebook in a thick cardboard cover or A4 paper, scissors, a simple pencil, colored paper. To assemble the structure, you need to prepare a stapler that can be replaced with an awl or a thick needle and thread. For the cover design, you can use any materials you like.
Making a notebook
Take a general notebook, open it in the middle, gently unfold and remove the paper clips. Cut out rectangles of the same size from the notebook sheets. To get the job done faster, cut paper stocks in small batches, or cut the sheets along the fold line, and then cut each page into four more pieces. Instead of notebook sheets, you can use ordinary office paper. The notebook can be divided into several sections with colored paper inserts.
Now take care of the cover. Take the cardboard cover from the notebook, straighten it and mark on it the dimensions for the front of the wrapper, the allowance for the end fold and the back of the cover. The end fold allowance is equal to the thickness of your notebook. If you want to get a notebook in a vertical (portrait) format, on the pattern, the parts should adjoin each other with narrow edges, if in a horizontal (landscape) format, with wide edges. Cut out the pattern with scissors and bend in the desired places.
Next, put the sheets in the cardboard cover, align their cuts on the flat surface of the table and fasten the entire stack together with the cover with a stapler along the edge. If you fasten the workpiece along the narrow side, the notebook will be in portrait orientation, if along the wide side - in landscape orientation. If you do not have a stapler, or if the stapler cannot pierce the thickness of the notebook, you will have to stitch the workpiece with threads, pre-piercing in several places along the edge with an awl or a thick needle.
Notepad decoration
The front part of the cover can be pasted over with a cloth, self-adhesive film, scraps of photo wallpaper or colored paper. You can stick a postcard, photo or applique on your notebook. To decorate your notebook, you can use buttons, beads, beads, ribbons, lace, yarn and any other materials, the choice of which is limited only by your imagination.


