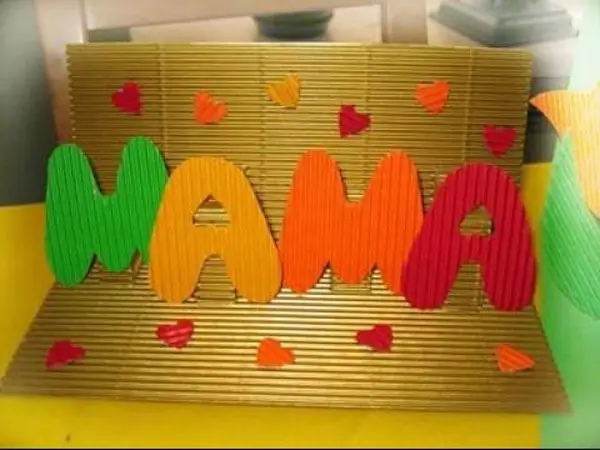
Joint creativity of parents and children is always a fun, interesting and useful process that brings pleasure to both children and adults. In the process of creativity, the child develops imagination, and the adult, showing him the technologies for making certain objects, allows the child to realize his creative potential and come up with new ways to decorate and decorate the made object. An example of an interesting joint creativity is the creation of a holiday card for mom, in which the child puts love and diligence.

Instructions
Step 1
Help your child to direct imagination in the right direction, but let him figure out what exactly to depict on the postcard.
Step 2
Together with your child, you can make a postcard on which the main element will be an applique cut from a magazine or bought in a store. Additionally, the child can draw any images on the postcard - flowers, balloons, text greetings.
Step 3
Offer your child blanks in the form of flowers, leaves, flags and other drawings that can be glued to a postcard.
Step 4
A postcard for March 8 can be made more interesting if you cut out the number 8 from beautiful paper and glue it to the center of the postcard. Complete it with stars and sequins from foil and glitter film.
Step 5
You can also make a volumetric paper flower and glue it in the middle to the card, leaving the petals free. The postcard will look even more original. In the same way, you can glue a butterfly previously drawn and cut out of paper on a postcard. Cut and glue the torso separately and the wings separately. Decorate the wings with shiny hearts.
Step 6
To make a flower, cut a rectangle of the same color into strips, leaving one narrow strip at the bottom of the rectangle. Then cut the second rectangle into strips. Roll the first rectangle into a tube and glue, and then apply glue to the second rectangle and wrap the first in the second.
Step 7
You will end up with a lush flower that can also be glued to a postcard. Spread out the strips and bend them to the sides. Glue the leaves, stem, and write congratulations.


