I create notebooks from scratch. I started doing this hobby relatively recently. Once on the Internet I saw a beautiful notebook and at first did not believe that such a thing could be made with your own hands.
It is necessary
Adobe Photoshop CS6
Instructions
Step 1
For a long time I created notebooks with common white sheets or downloaded pages from the Internet. Over time, I wanted something new, and I decided to make the pages myself, using the Photoshop program.

Step 2
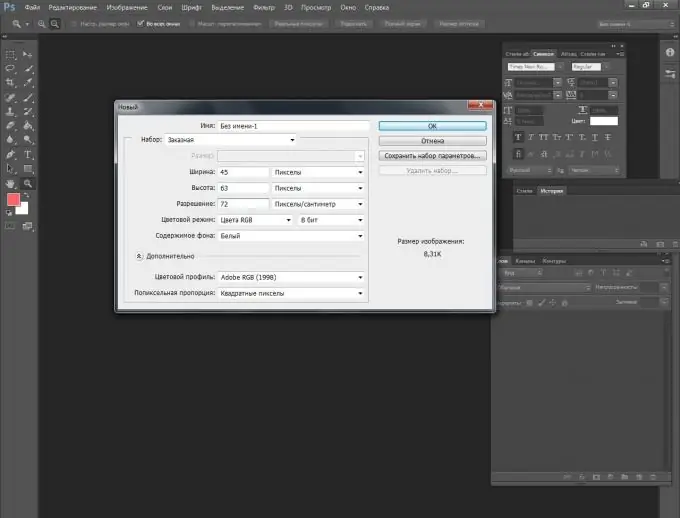
Create a new document and set the parameters as shown in the figure.
Step 3
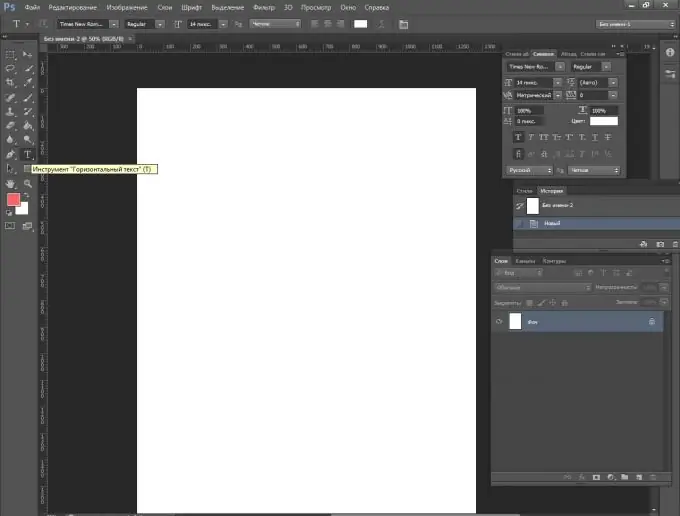
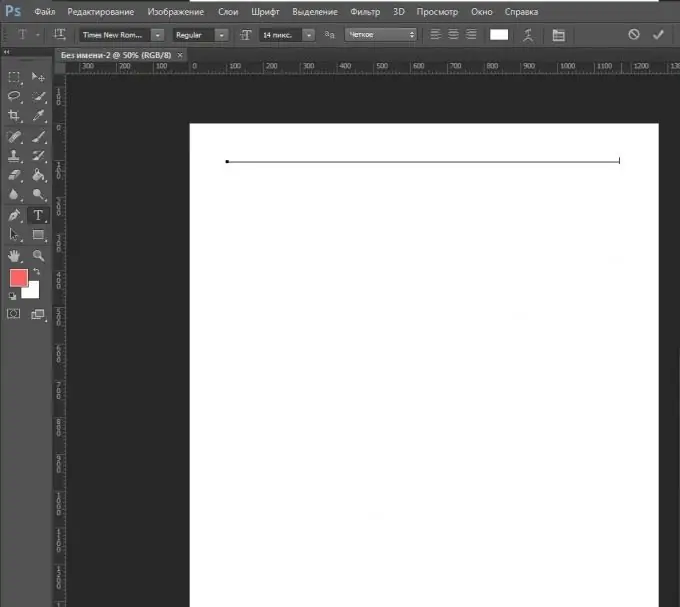
Take the Horizontal Text tool and draw a line by holding down the shift + _ key. Lines can be dashed and of any thickness. Everything here depends only on your imagination.
Step 4
Draw a line of the desired length and select it.
Step 5
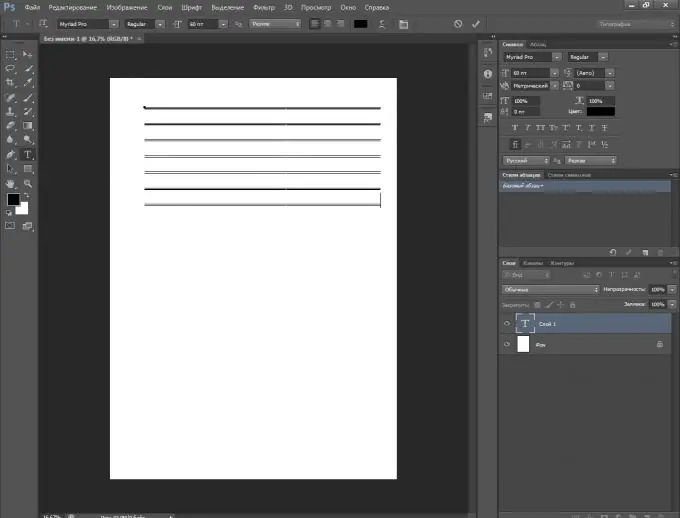
Using the ctrl + c key combination, copy the line and press enter. Next, press the ctrl + v keys and paste. We got 2 rows. Then we repeat the operation as many times as necessary to fill the sheet to the end.
Step 6
We got a leaflet in A5 format. In order to enlarge our lined sheet to A4 size, we will do the following: go to the Image tab - Canvas size.

Step 7
Change the parameters as shown in the figure.

Step 8
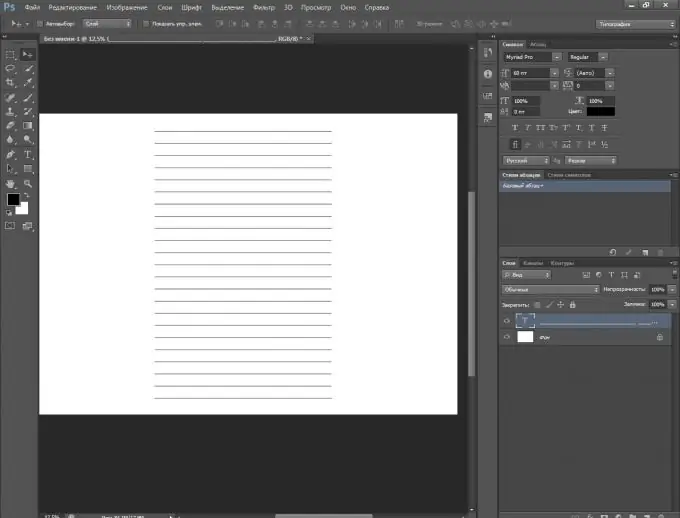
We got an A4 sheet, in which our lined part was exactly in the middle. Using the Move tool (hotkey V), drag the resulting lines to the right edge.
Step 9
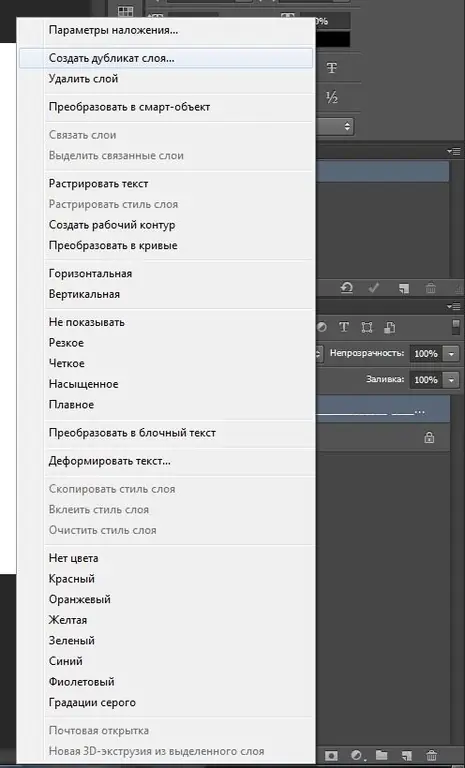
Next, go to the text layer and create a duplicate.
Step 10
drag the resulting lines to the left. Then we level everything neatly. This is how it should turn out.


