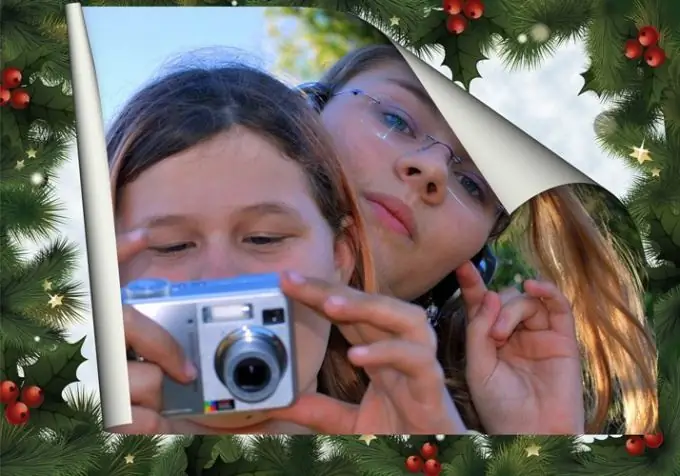
The process of inserting a photo into a ready-made New Year's frame is not difficult. Usually it is enough to adjust the image size to the frame dimensions and move the layers. In some cases, additional actions may be required, such as feathering the edges of the added picture. All this can be done using Photoshop.

It is necessary
- - Photoshop;
- - frame;
- - the photo.
Instructions
Step 1
Open the Christmas frame file in Photoshop. Use the Place option on the File menu to paste the selected photo onto a new layer in the open document. If the picture is larger than the frame, zoom out the picture using the slider from the Navigator palette and drag the corner of the frame that surrounds the inserted picture. Press the Sift key so that the photo does not lose its original proportions.
Step 2
If the Christmas frame you found is a single-layer.
Step 3
There are beautiful frames saved in.
Step 4
If a rectangular area with clear boundaries filled with white is in place to insert a picture, you can simply superimpose the picture on this area. Without moving the photo under the layer with the frame, apply the Free Transform option of the Edit menu. Resize and tilt the image to fit the white area.
Step 5
In some cases, a fragment of the frame intended for inserting a photo is framed in the form of a sheet with curved, snow-covered, torn or otherwise accentuated edges. To preserve this effect after inserting the photo, align the edges of the photo with the borders of the frame area left for the photo, and feather the edges of the photo.
Step 6
If the image inserted into the file using the Place option is a smart object, apply the Smart Object option in the Rasterize group of the Layer menu to the layer so that you can delete part of the photo. If the image is not such an object, this option will be grayed out.
Step 7
Select the photo with the Load Selection option of the Select menu and invert the created selection with the Inverse option of the same menu. To adjust the feathering parameters, use the Feather option, which is also on the Select menu. Enter the feather radius in the field of the dialog box that opens and delete part of the image with the Clear option of the Edit menu. If you manage to find the correct feathering amount, the photo will smoothly transition into the frame by reducing the opacity of the edges.
Step 8
The Save As option on the File menu will help you save the resulting image. Select the.jpg"


