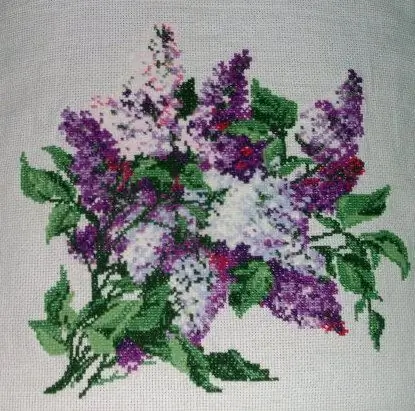
For a long time you have been embroidering a picture for a gift, but in order to give it a finished look, you need a frame that would fit it perfectly.

It is necessary
Embroidery, frame, cardboard, glue
Instructions
Step 1
Decide on the shape of the frame, for example, a frame that repeats its shape is well suited for a rectangular embroidery, an oval frame for an oval work, and a round one for a round one. Choose a color of the future frame that will be a great addition to your embroidery, while taking into account the combination of the plot and the style of the frame.
Step 2
Wash the embroidery and let it dry a little so that it is slightly damp.
Pat it face down on a terrycloth towel.
If desired, the embroidery can be starchy to give it rigidity, this can be done using a special spray can, which will evenly distribute the starch solution over the embroidery.
Step 3
Prepare a cardboard box of the required size in advance.
Apply special glue to the cardboard, it must be applied in the form of a lattice, so that it will be possible to unfasten your embroidery over time and, if necessary, wash it.
Place the embroidery on a piece of cardboard and smooth it gently.
Step 4
You can trim the edges of the embroidery or fasten them neatly with thread, then you will have the opportunity to place the embroidery in a frame of a different size.
Step 5
To prevent the glass of the frame from flattening the embroidery, place small pieces of cardboard between the frame and the embroidery. Place the work in the frame, covering it with cardboard from the back, this will give the embroidered picture a complete look. Your work is completed and all that remains is to attach a loop on the back of the cardboard so that you can attach it on the wall. The gift is ready. It remains to pack and present it to the person to whom it was intended …


