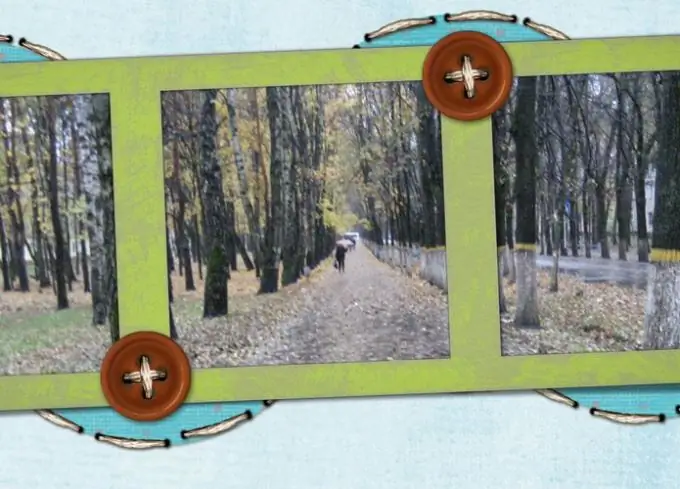
Inserting a photo into a suitable frame is a simple operation that involves moving layers and resizing their content. Any image editing program that can work with layered files will do this.

It is necessary
- - Photoshop program;
- - file with a frame;
- - a file with a photo.
Instructions
Step 1
Open the frame file in Photoshop. If the frame is saved in a psd file, double-clicking on the file icon is enough to load this image into the editor. To open other files, use the Open option from the File menu.
Step 2
Add the photo layer to the frame file using the Place option from the File menu. Adjust the size of the inserted picture by pulling on the corners of the transformation frame that surrounds the photo. Use the Enter key to apply the transformation.
Step 3
If the photo is much smaller than the frame you want to insert it into, don't stretch the photo. In such a situation, a more reasonable solution would be to reduce the size of the frame and crop the blank canvas around the edges. To complete the paste use the Enter key and move the layer with the snapshot under the layer on which the frame lies. If the frame has multiple layers, place the photo under the lowest one.
Step 4
Select all the layers that make up the frame and apply the Free Transform option to them from the Edit menu. For convenience, reduce the scale of the image by moving the slider at the bottom of the Navigator palette to the left. In order not to distort the aspect ratio when resizing the layers that make up the frame, transform the picture while holding down the Shift key.
Step 5
Select the Move Tool in the tool palette and position the layer with the photo under the frame so that the transparent part of the frame shows exactly the part of the photo that you were going to insert into the frame.
Step 6
If part of the photo protrudes beyond the outer borders of the frame, crop excess parts of the photo. To do this, using Polygonal Lasso, select the part of the photo that should remain in the final image. The selection is best done not along the borders of the frame, but in the middle of it.
Step 7
Invert the created selection with the Shift + Ctrl + I combination. Click on the layer with the photo in the layers palette and delete the areas of this layer, limited by the selection lines. This can be done with the Clear option from the Edit menu.
Step 8
If part of the canvas remains free after transforming the frame, trim the edges of the canvas. This can be done using the Crop tool.
Step 9
Save the frame with the inserted photo in.jpg"


