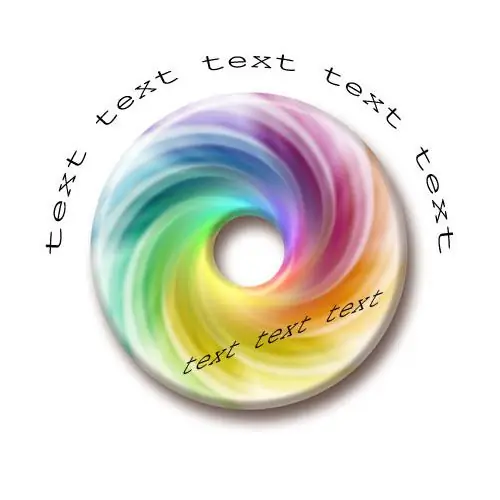
Modern graphic editors have truly tremendous capabilities. In addition to manipulating the components of rasters, they provide a means of applying text labels on them with the selected display parameters. That is why, if you need to write text on an image, it makes sense to do it in a raster graphics editor.

It is necessary
raster graphics editor Adobe Photoshop
Instructions
Step 1
Open the image in Adobe Photoshop. To do this, press Ctrl + O or select the File and Open… items from the menu. In the dialog that appears, go to the directory with the graphic file, select this file in the listing of the directory, click the "Open" button.
Step 2
Activate the Text Layer Tool. Left-click on the "T" icon button on the toolbar. Wait for the menu to appear. Select the Horizontal Type Tool if you need to create a horizontal text caption or the Vertical Type Tool if the caption should be vertical.
Step 3
Set the character style options for the text. In the top pane, expand the drop-down list with the names of the typefaces of the fonts installed on your computer. Choose your preferred headset. In the lists to the right, set the font style, character size and text anti-aliasing options. You can also choose line alignment and character color.
Step 4
Write text on the image. Click with the mouse cursor in any area of the image in the document window. Type the text you want on the keyboard.
Step 5
Warp the text to fit one of the predefined shapes, if necessary. Right-click on the created text layer in the layers control panel. In the context menu, select the "Warp Text …" item. In the Style list of the Warp Text dialog that appears, select your preferred warp style. Use the sliders below to set your preferred distortion parameters. Click OK.
Step 6
Transform the written text using the tools of the Transform menu of the Edit section. With them, you can rotate, scale, skew and distort the text.
Step 7
Move the created text layers to create a complete composition. Activate the Move Tool using the button on the toolbar. Select layers in the layers panel and move them using the mouse or cursor buttons.
Step 8
Save the image. Click on the File and "Save for Web & Devices …" items in the main menu. In the dialog that appears, select the format and image compression parameters. Click the Save button. Specify the name of the file to be saved and the target directory. Click the Save button.


