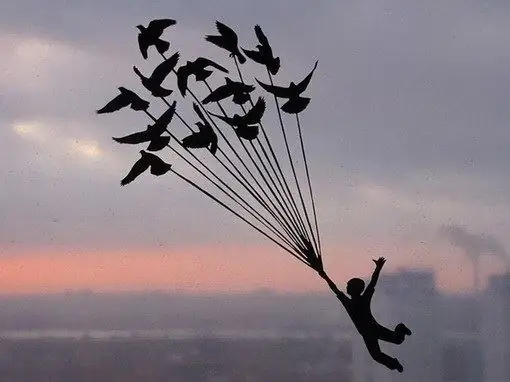
The silhouette graphic technique has been known for a long time. It began with the traditions of ancient China. Art gained great popularity in Japan and Poland. At the end of the 17th century, the Englishwoman Mrs. Parburg performed the first portrait in the form of a silhouette. Now they are drawn with ink on cardboard, cut out of paper and placed on a contrasting background.

First you need to think over the composition: who and in what poses will be depicted, in what quantity. The idea can be completely original, or it can be borrowed. This is not so important.
In any case, a number of things will be needed:
- photographs from newspapers and magazines;
- your own photos or photos of friends;
- Internet and printer - find photos and print.
The more expressive the photo is, the more interesting the silhouette will be in the end.
The important thing now is to choose paper. It doesn't have to be strong. Otherwise, it will be difficult to glue it. But also not too thin. Alas, transparent paper will look gray. Tissue paper is categorically not suitable. Drops of glue will appear as gray spots. Often they additionally use foil, pieces of fabric, oilcloth.
You need to select paper according to the size of the template. To do this, place it on top and secure with a paper clip at the corners of the sheet.
In addition to paper, paper clips and a template, you will need nail scissors. A clerical knife might come in handy. You can't do without glue.
Silhouette cutting technique
Cutting out small parts requires a lot of dexterity and knowledge of some of the process. For example, the ends of the scissors cannot be joined. This may cause serifs in the image.
The use of small nail scissors is recommended. They are more convenient to cut curved lines. To do this, you need to rotate the paper. The scissors themselves are directed forward with forward movements. At this time, with the other hand, slightly pull the paper back. The edges of the image will be smooth and neat.
To make through holes in the drawing, the scissors need to be inserted in the middle. In the direction of the corner or along the line, make movements with sharp ends. There is an easier way - symmetrical. Fold the sheet in half or four. Imagine that a plane divides an object into two equal symmetrical halves
If you like the book illustration, you can use tracing paper. With its help, the image is transferred to paper. This is where the pattern cutter can help. The contours that he will leave need to be outlined with a pencil.
With the sharp ends of scissors, carefully cut out the translated drawing along the lines drawn. Cutting out design elements and patterns requires care, accuracy and precision.
The last step is to glue the details to the background. Do not use office glue. It will leave yellow spots and ruin the result. For such purposes, a glue stick or PVA glue is more suitable. The bonding area is gently wiped with a soft cloth.


