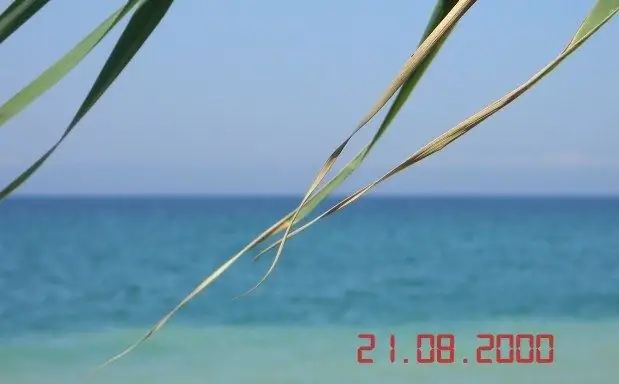
The possibilities of digital photography are almost endless. If you forgot to set the camera in a mode in which a date is added to each frame before shooting, this can be corrected by processing the picture in any graphics editor.

Instructions
Step 1
If you do not have the ability or desire to process the footage on a computer, but you want to see the date on every shot, make sure in advance that the camera automatically stamps the date on every shot. To do this, enter the camera menu and in the "Settings" or "Options" section (depending on the model, the menu items may have different names) set the desired parameter.
Step 2
Many modern mobile phones, and even more so smartphones and tablet computers, are also capable of displaying the date on each photo during shooting. To enable this option, open the camera setup menu and set the picture time display mode. If you cannot find the desired menu item on your own, use the instructions for your device, because the paths to certain settings are different for each gadget.
Step 3
If the problem still arises in front of you after the fact, there is nothing left to do but add the date manually using any available graphic editor, even if it is the Paint program built into the Windows system tools set. Click the "Start" button, go to the "All Programs" section and in the "Standard" section click on its icon.
Step 4
When the program window opens, drag a photo into it or add a file by pressing the Ctrl and O key combination. Click on the icon with the letter "A" on the toolbar of the Paint editor, then click anywhere in the photo and select the desired font, color and size of the inscription, which will be the date of the snapshot.
Step 5
Place the cursor in the lower right corner of the image (this is where the date is usually located in the photo), and then enter the desired numbers. After completing the input, click in any free area of the image. Save the result by choosing the "Save As" command from the menu.


