Drawings made in 3d format look very realistic. The creation of such masterpieces is becoming more and more popular, especially since almost any person can learn how to create 3d drawings on asphalt.

Instructions
Step 1
Select the pattern you want to create on the pavement. This can be a ready-made image you saw in a magazine, on TV, or found on the Internet, or a story you invented. Create an image on a piece of paper before transferring it to the asphalt. Even artists who are experienced in creating 3d drawings do this.
Step 2
Make sure that there is perspective in your drawing, with the help of which the effect of realism of objects, plants, animals and people in asphalt drawings is created. To do this, you must have a well-developed sense of space.
Step 3
Stick to the point of view you have chosen for your drawing. From this position, your drawing will look three-dimensional. Keep in mind that you need to correctly distribute the shadows in the drawings, taking into account which side the light falls on the objects depicted on it. Note that when lighting the picture from the front, the outlines of the objects should be created using dark shades, and in the center, using lighter colors. If the light falls from the right or left, there should be objects on that side.
Step 4
Practice creating a 3D image using simple geometric shapes. Draw a cube, parallelepiped and move to rounded objects. First, create the shapes using only a simple pencil and eraser, and then add colors to them. If you find it difficult to draw a shape in 3d, draw three coordinate axes for convenience. With a little practice, you can create 3D shapes without guide lines.
Step 5
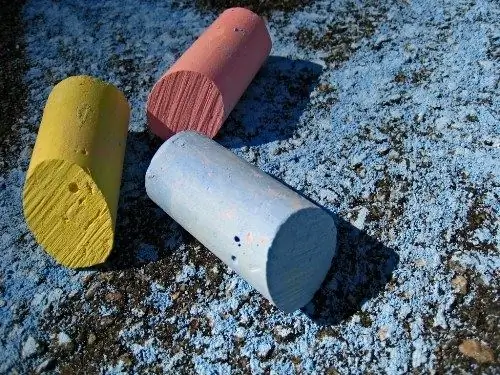
Transfer your drawing to the asphalt when you are happy with the paper version. Find a suitable location, grab your crayons and start creating. You should not create clear boundaries of the picture, then it will look more realistic.


