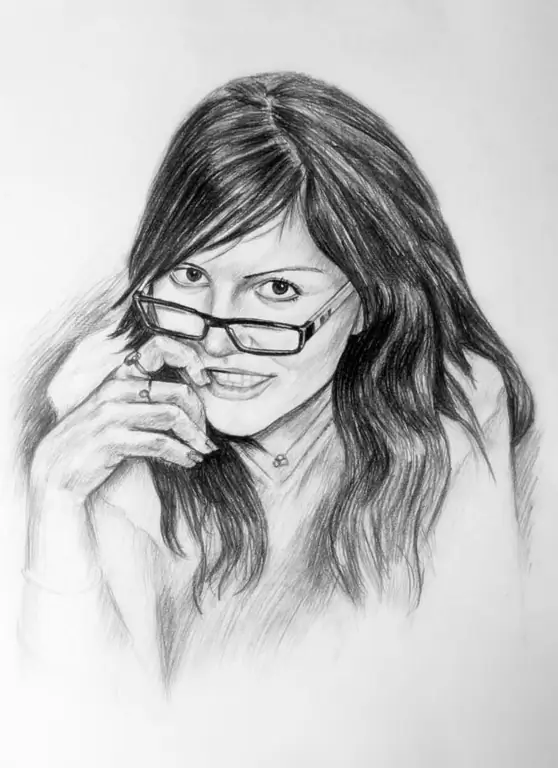
Whatever you say, a portrait is always better than a photograph. Drawn with love and skill, an ordinary pencil portrait can be a real decoration for your home. And most importantly, the presence of such a portrait always arouses heightened interest. Guests begin to ask: "Did you draw this yourself?" How do you sometimes want to answer them: "Yes"! If you want to learn how to draw pencil portraits yourself, then try following the instructions below.

It is necessary
- - good thick paper
- - simple pencils of different thickness and hardness
- - special paper shading
- - soft eraser
Instructions
Step 1
Freehand draw a free linear outline with a thin hard pencil, and erase any excess with a soft eraser.
Step 2
Mechanical soft pencil (3B) with 0.5 mm refill. start adding strokes that indicate darkening of the hair. Follow the direction of hair growth.
Step 3
Continue hatching places as you move on. Pay close attention to the direction of hair growth and how it lies. Do your strokes carefully and thoughtfully so that your hair looks like hair and not like a sheaf of hay.
Step 4
Continue adding strokes and darkening the desired areas. Start lengthening the lines to outline the hairstyle.
Step 5
Now work with your hair style. Darken the areas very carefully and place the highlights so that the hair looks natural. Rotate the paper to make shading easier.
Step 6
Now take the blend and run it through your hair along the hairline. Make sure that the strokes do not intersect, otherwise you will only dilute excess dirt.
Step 7
Sharpen the end of a soft eraser and mark lines where the highlights are.
Step 8
Draw in the dark areas with a very soft pencil. Shade individual hairs to add personality to the hairstyle.
Step 9
We begin to draw the eyes. Draw the iris first, then add the eyelashes. Add strokes for the volume of the face. Blend it with the right light and shadow.
Step 10
Now we will work on the skin tones. First, shade the skin with light movements, observing the volume, darkening the necessary places. Leave your lips unhatched for now.
Step 11
Work more carefully in dark areas, apply shading to the skin. Now move on to the lips. Draw carefully all the small details, folds, etc.
Step 12
Sketch the neck, clothing, and background if provided. Your portrait is now ready.


