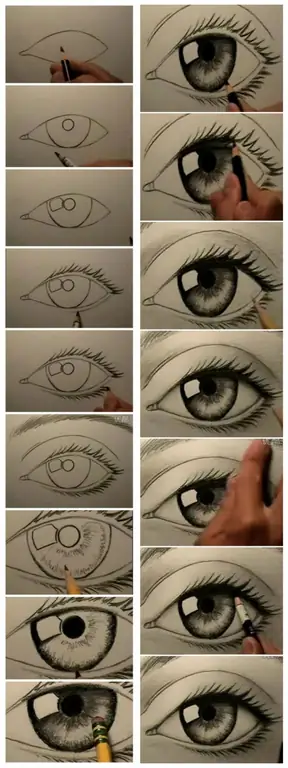
The pencil drawing is based on a line. Therefore, for everyone who decides to learn how to draw well with a pencil, the first lesson should be the basics of shading.

To apply the lesson in practice, you will need simple pencils of varying degrees of hardness, an eraser and paper.
Different shading intensities
In the shading technique, different shades are created by changing the density of the lines drawn on the paper, using different pressure on the pencil and using different types of pencils. Shades can go from light to dark and from dark to light, depending on the idea. This lesson takes many hours of practice.
You will have to spend many hours drawing simple lines at a given distance from each other. You need to try different angles of inclination and pressure, rotate the sheet and change the angle and direction of the hatching lines. Only after that it will be possible to find comfortable lines, the angle of inclination and the degree of pressure.
Basic types of hatching
It will be more convenient to train if you know the basic types of shading used by artists.
The very first type of hatching - the lines are short and located far from each other. Thus, the properties of pencils of different softness are studied. Lines spaced at some distance from each other create the illusion of a light tone.
Then the lines are drawn closer together and longer. Visually, this shading looks darker.
In the third version, the lines are almost closely adjacent to each other, but paper is still visible between them. Here, the accuracy of the hand and the ability to draw parallel lines of different types are tested - long and short, distant from each other and located next to each other.
Then you should practice drawing as long and neat spirals as possible, unwinding them from the center or, on the contrary, twisting them to the center. This exercise gives the artist's hand firmness and flexibility.
Creating a bar scale
This activity helps you understand color boundaries. It consists in applying 7-10 groups of strokes on paper from dark to light and vice versa from light to dark. The transition should be smooth, and matching matching charts can be purchased from art stores along with pencils and other tutorials.
To achieve the result, both different degrees of pressure on the pencil and pencils of different degrees of softness are used. You need to be able to draw so that the hatching lines are visible, and so that the effect of smoothness is created, without gaps between the lines.
After all three of these exercises are straightforward, you can safely take on one of the many step-by-step lessons on depicting something: everything will work out perfectly. For an artist, practice and a steady hand are especially important; everything else is made by a great desire to create.


