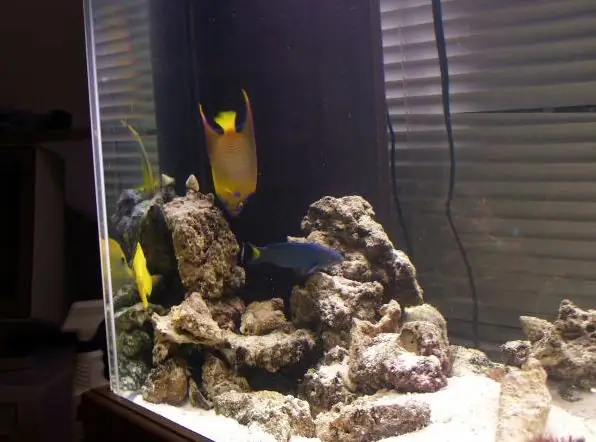
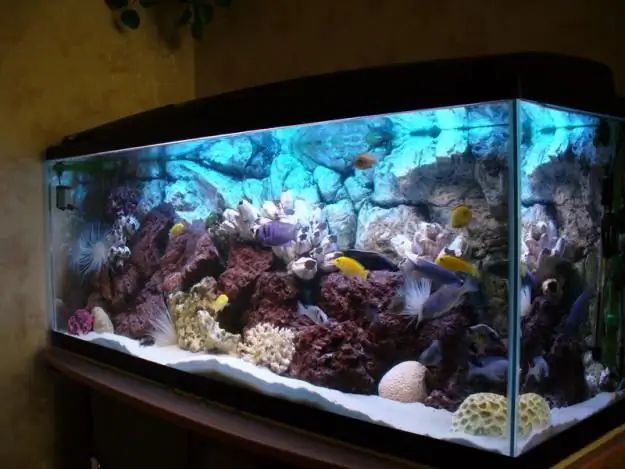
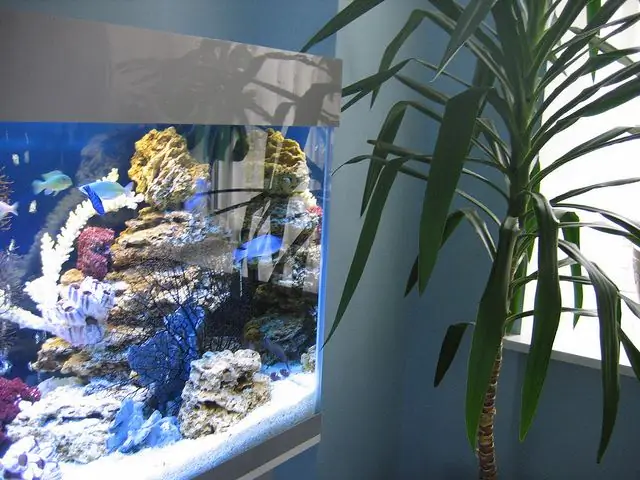
The aquarium is no longer just a place where tropical fish live. Now it is an original interior detail and the opportunity to have a small piece of the South Sea at home. More and more attention is paid to the design of the aquarium. A beautiful grotto will make your aquarium different from others and will be an excellent hiding place for fish.

It is necessary
- Polyurethane foam
- Several large stones
- Epoxy resin
- Sand
- Spray black, gray, brown and green paint.
- Knife
- Soldering iron or wood burning device.
- Cement М500
- A piece of PVC film
Instructions
Step 1
Place stones on horseshoe-shaped PVC sheeting. They will form the basis for your grotto. In addition, the stones are needed to give stability to the entire structure so that the mainsail does not float to the surface.

Step 2
Apply polyurethane foam in the form of a slide to the stones. Let it be free-form, let the foam flow in all directions. Your grotto should resemble a natural pile of stones as much as possible. Leave the resulting structure to dry. If you are planning a large grotto, then drying can take quite a long time, up to two weeks. The foam should dry completely.

Step 3
Cut off the PVC film, try to remove it completely. But if this fails, do not be discouraged. This film will not biodegrade and will not harm the inhabitants of the aquarium.

Step 4
Take a sharp knife and start carving the mainsail. Cut off any excess nodules that do not fit into your composition. Draw cracks. Carve out the grotto itself. The distance between the ends of the horseshoe made of stones will be where you make the entrance to the grotto. Unleash your imagination, you can make several entrances in the grotto, or add a few more niches to the designs. You can make small indentations for further planting of aquatic plants in them.
Step 5
Use a soldering iron to flatten the surface of the mainsail. Smooth out the messy cut edges, add pits and notches.
Step 6
If your tank is sandy and you want a sandstone-like mainsail, use epoxy and sand. Cover the surface of the grotto with epoxy and, without waiting for it to harden, simply sprinkle the entire structure with sand. After the resin hardens, brush off any excess grains of sand.
Step 7
If you want the grotto to resemble a piece of rock or a pile of stones, paint the grotto with cement diluted with water. Apply the mixture in several coats, just like paint. Dry each layer first.
Step 8
After that, the grotto can be painted with paints. Mix different colors while trying to match other decorative stones in your aquarium. It is best to use aerosolized automotive enamels. Be sure to dry each layer.
Step 9
The mainsail can now be installed in the aquarium. Plant aquatic plants, add soil to hide the base of the grotto.


