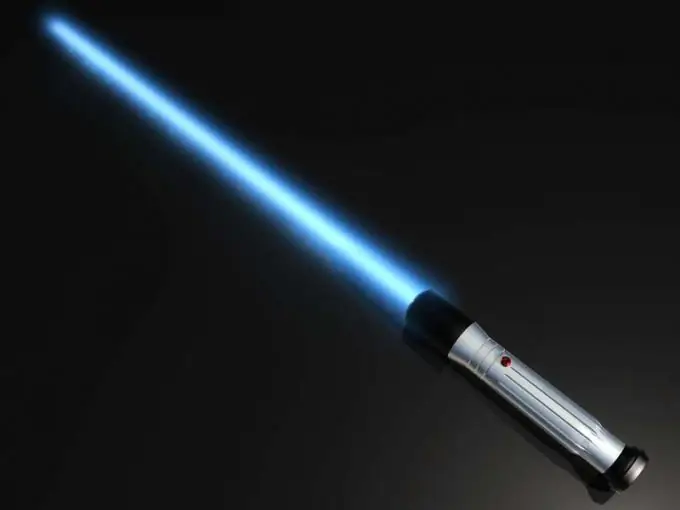
The main attribute of the players of the popular computer game "Star Wars" is a lightsaber. If you want to create a picture or photo of a lightsaber, use Photoshop. It will take you a few minutes, but you will definitely be happy with the result.

Instructions
Step 1
To implement the idea, take a photo of the heroes who are holding handles with swords coming out of them. It is this photo that will be used to further create the lightsaber.
Step 2
First, create a new layer in Photoshop and name it “Razor”. Place it above the picture and fill it completely with black. Now change its type to "Screen". After that, the black color should turn into transparent.
Step 3
Then set the color to white and select the Line tool. Take the line width equal to one third of the blade width and press "Create Filled Region". This is done so that Photoshop did not generate a vector object, instead of which it immediately drew a line on the layer. Focusing on the image in the photo, draw a line that will later be the blade. After that, blur it with the "Gaussian blur" filter, the radius of which is equal to the width of the line. In the “Adjust Levels” menu item, change the input levels: the upper one to 48 and the lower one to 32.
Step 4
After that, using a black brush, adjust the shape of the blade so that it looks the most realistic. Now start creating a colored aura.
Step 5
Right click on the layer name in the Layers panel and choose Duplicate level. Enter the name "Aura1". Blur it with a Gaussian blur filter with a radius equal to the width of the blade line. Change the input levels again: the upper one by 64 and the lower one by 48. Now again blur the line with the same filter.
Step 6
Click on "Duplicate level" again and name the new layer "Aura2". Set the input levels to the same values (64 and 48). Now blur the line with a filter with a radius equal to two blade lines.
Step 7
Then color the aura. To do this, set each aura layer in the “Adjust Levels” menu to the upper value (Output Levels) for RGB equal to 127, and for the remaining channels - values that correspond to the selected color.
Finally, blur the first Blade layer with a Gaussian blur filter. Pick a radius equal to 1/3 - 1/4 of the width of the blade line.


