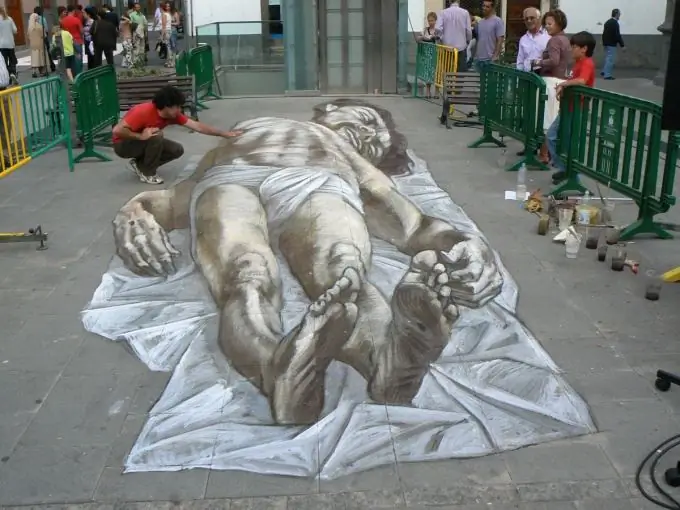
Speaking about 3D drawings, it is worth noting that they can be performed on almost any material, be it paper, wall, asphalt or canvas. But one of the most modern and impressive trends is 3D images on asphalt. This is one of the branches of street painting or graffiti, the peculiarity of which is that the drawings are done directly on the asphalt. Such works are capable of fascinating the audience, and looking at some of them it is difficult to find the border between drawing and reality.

Instructions
Step 1
It is better for novice artists to practice on a simple sheet of paper first, and only then go outside to create. Even the most experienced craftsmen first make a sketch on paper, and only then transfer it to the asphalt.
Step 2
The main concept associated with three-dimensional images is the artistic term "perspective", that is, the image of a three-dimensional object in space. In order to understand how to depict something volumetric on a plane, you need to have a well-developed spatial thinking.
Step 3
To get a truly spectacular 3D image, you need to choose a point of view, that is, the position from which the artist and viewer looks at the canvas, sheet or asphalt. It is from the chosen point that your drawing will appear three-dimensional. Then you need to decide where the light falls from in your drawing, because the location of the shadows in the image will depend on this, namely the shadows give the flat drawing three-dimensionality. When starting to create an image, remember that volumetric objects are drawn darker closer to the contours, and lighter in the center, if the light falls on them from the front according to your idea. If the light falls on the object from the side, then your drawing, accordingly, will be lighter on the side where the intended light source is located, and darker on the opposite side.
Step 4
For a start, it is better to learn how to draw simple rectangular geometric shapes - cubes and parallelepipeds. To do this, draw three axes and place a drawing on them, as they do in geometry lessons. As you gradually improve your skill, move on to rounded and more complex images, and then ditch the auxiliary axes. For the first works, it is also recommended to choose black and white drawings, and only then gradually start experimenting with color.
Step 5
If you want your drawing to look impressive on the pavement, you do not need to make it clear rectangular borders. It is advisable to choose a background of such a shade so that it matches the color of the surface on which you will apply it.


