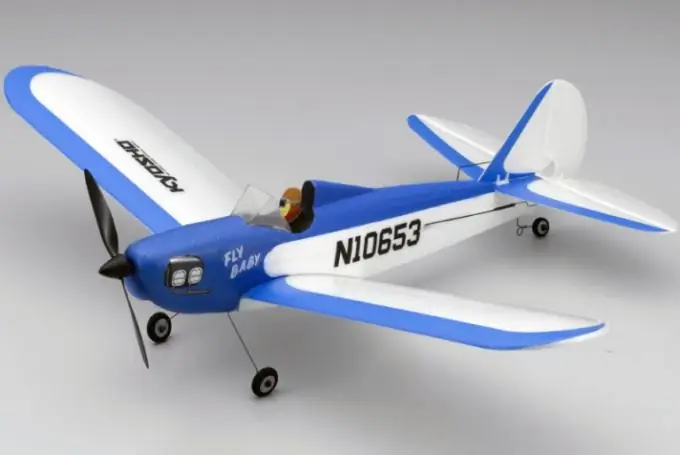
What is more fun than launching a real RC plane? Remote control toys can bring joy not only to the child, but also to his parents. Unfortunately, buying such a toy can cost a pretty penny. Cheer up, you can assemble and prepare a radio-controlled plane for flight with your own hands.

It is necessary
Airplane model drawings, tools, styrofoam, wood blocks, glue, control panel, power supply
Instructions
Step 1
Find the appropriate blueprints for the model of the aircraft you intend to make. You can find such drawings with a description of the design on the corresponding Internet portals. Penoplex foam is suitable as the main material for assembling the aircraft. Apply images of parts according to the pattern transferred from the drawings to the blanks and cut out the necessary parts.
Step 2
Following the description, sequentially assemble the model from the prepared parts. If necessary, adjust the elements by carefully joining them together with glue. To make a screw, you need a piece of wood. Give the screw the desired shape and profile, guided by the schematic illustration. For fastening some parts, for example, the engine and the power supply, you will need fasteners in the form of nuts and screws.
Step 3
Use TR 28-26 16A 1900Kv Brushless Outrunner as the engine for the flying model. Such an engine creates enough thrust to lift in the air and stable flight of a model weighing up to 900 g. Attach the engine to a special frame made of a wooden ruler. You will also need a power supply (battery) with a capacity of at least 200 mA / hour. The location of the battery and the motor must ensure that the center of gravity does not shift away from the longitudinal line of the apparatus.
Step 4
After installing and configuring the electronics, completely assemble the model and test it in the air. If necessary, correct the flight of the model by changing the relative position of the engine and the battery to prevent the aircraft from falling towards the bow or overturning on the tail.
Step 5
After completing all the work on adjusting the model, proceed to the last stage - giving it an attractive decorative look. You can either paint the model or use multi-colored self-adhesive foil appliques. Use bright colors to make the flight more spectacular and better control the model in the air.


