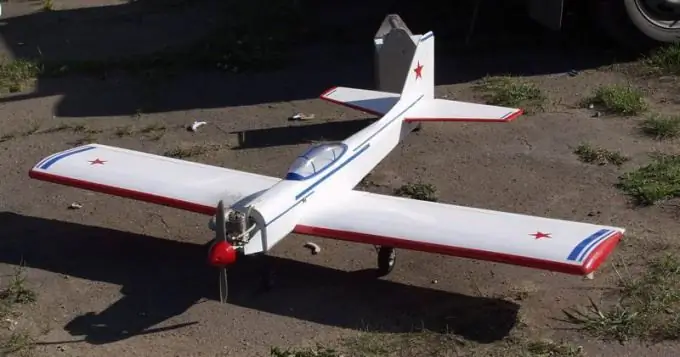
New models are replacing paper airplanes, which are no longer only made of paper, but cardboard, foam plastic, ceiling tiles and other lightweight materials. Today we will be engaged in the manufacture of just such a modern aircraft. We will make the Albatross plane, for its manufacture you will need cardboard and paper. Let's get started! Follow our step by step instructions.

Instructions
Step 1
Download the drawing of the Albatross model from the Internet. Cut out the details, they will be the template.
Step 2
Start making the main part of the aircraft, to the fuselage. It can be made either simple or with a transparent booth. As you like, although this will not affect the flying ability of the aircraft. The glazing of the booth can be done using transparent film.
Step 3
For an aircraft to fly well, you need to correctly distribute the center of gravity of the model. Look carefully at the drawing, it should be noted. Decide on the load, it can be cut out of cardboard or hardboard.
Step 4
Glue the made cargo to the fuselage from the inside. It is better to glue the load in two stages, first to one side of the fuselage, then to the other. Glue the fuselage together. Bend the bottom of the fuselage and glue the tabs together.
Step 5
Cut out the keel of the aircraft. Glue it along the trailing edge, the seam should be about 5-6 mm. Thread the keel tabs into the tail of the fuselage and glue them from the inside.
Step 6
Glue the aircraft engine to the side walls of the fuselage.
Step 7
Cut out the stabilizer and glue it along the trailing edge. Attach it under the keel at the tail end.
Step 8
Cut and glue the wings to the fuselage, glue the wing folds well.
Step 9
Make a crochet hook using a regular paper clip. Flatten the ends of the paperclip. Attach the hook with glue to the fuselage in front of the wing.
Step 10
Place the model on the table when fully assembled. Press down on the fenders and stabilizer with books to better adhere these important parts. Leave the plane in this position for 8-10 hours. This is necessary for the glue to dry well.
Step 11
Check the balance of the aircraft. A correctly made model should stand on the edge of the ruler.
Step 12
The plane is ready, go to test it. Check the wings, stabilizer, keel again before flying. You can launch a plane into the air with a homemade slingshot. Having gained a height of 10 m, such an aircraft can fly about 30 m. High flights and soft landings!


