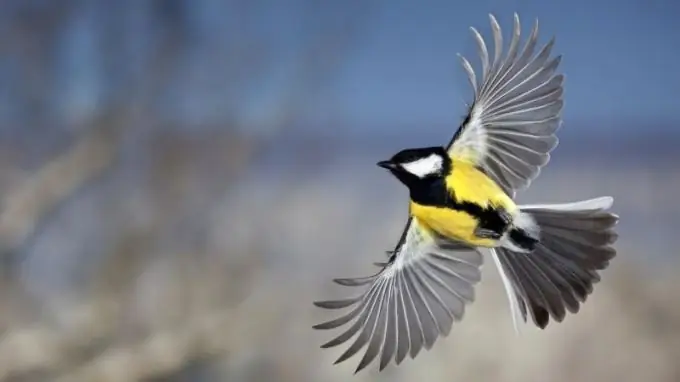
The image of a flying bird seems rather complicated. However, even a novice artist can handle this work. You can draw a titmouse, an eagle, or a swan, use only a pencil, or color in a sketch.

It is necessary
- - paper for drawing or sketching;
- - pencils of varying degrees of hardness;
- - eraser;
- - the tablet;
- - a set of watercolors;
- - brushes.
Instructions
Step 1
Attach a sheet of heavy paper to the flatbed. Sharpen pencils - harder and softer. Think about what kind of bird you will draw, choose an interesting angle.
Step 2
Try something simple but unusual - for example, depict a tit in flight. This small bird is distinguished by interesting plumage in different shades, a bright yellow breast with a striking contrasting stripe and a black head with funny white cheeks. Its relatively small wings and tail spread out in flight and look very beautiful.
Step 3
Start by sketching the outline of the future tit. In the middle of the sheet, use light strokes to outline an oval and a small circle, located side by side and slightly at an angle. These are the contours of the body and the head pointing up. Mark the direction of the tail with a thin line, draw a straight line across the body - the basis for future wings.
Step 4
Start drawing the bird. Connect the head and body, on both sides of the body, depict wide spread wings. The chosen angle implies a view from below - your titmouse should hover. One wing is located below the body, the other is higher. Draw the outline of the tail in the form of an expanded fan.
Step 5
Sharpen the head of the tit and finish it with a small beak. Draw long feathers on the wings, mark the same feathers in the tail. Draw tucked legs in the lower part of the body. Examine the drawing carefully, erase the extra strokes.
Step 6
You can stop at a pencil sketch, but a bird painted with watercolors looks much more beautiful. Cover the background with a thin layer of water using a soft brush and let it dry slightly.
Step 7
Mix blue and white paints on a plastic palette and apply them in large strokes on the paper, carefully traversing the outline of the drawing. Add some water in some places to blur the background and simulate the sky. Let the watercolor dry.
Step 8
Paint over the breast with yellow paint, make the head of the bird and the wide strip along the belly black. Mix brown and gray paints and apply strokes to the wings and tail, simulating feathers. Let the watercolor dry a little, use a thin brush in a dark gray tone and carefully draw out the outlines of individual feathers. The drawing should be airy, its borders should be slightly indistinct.
Step 9
Paint on the brush with white paint and draw feathers, drawing long strokes next to the dark gray lines to achieve smooth transitions of light and shadow. Place white highlights on the sides of the tit's head. With a thin brush dipped in black watercolor, draw the legs, the outline of the beak, add some shadow at the base of the tail. The drawing is ready.


