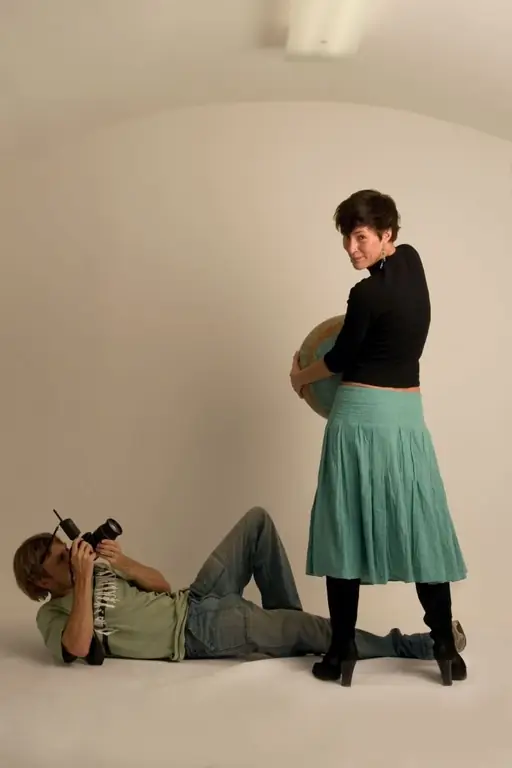
It is not at all easy to create a beautiful and comfortable photo studio in which it will be pleasant to work. To do this, you need to take into account many nuances, features and not lose the uniqueness of the image, which the client appreciates.

Instructions
Step 1
Determine the direction in which you will work, the goals and objectives that the photographer faces. Do not purchase equipment immediately, purchase it as needed. Some photo studios offer printing and lamination, exclusive design of pictures, and selection of clothes for shooting as additional services. Think about what you are willing to do for the client.
Step 2
Choose a room for a photo studio. A room with an area of 40-50 square meters is quite suitable for you. This room is enough for both decorations and lighting. High ceilings are a big plus for the convenience of work. Do not be confused by the unsightly appearance of the room. If you cover the walls with dark fabric, posters and adjust the lighting, you get an urban style design. The main thing is to keep the room warm, because you and the models will have to work in it for hours. In summer, in case of heat, it is necessary to have a fan.
Step 3
Based on the directions, determine the target audience of the business. If you are engaged in product photography, specializing in photography for business, then the equipment and design of the studio will be different from the interior decoration of the salon, specializing in portraits and staged photos with models.
Step 4
Purchase professional equipment based on the goals and objectives of the photo studio. For working with people, prepare accessories, ottomans, suits, chairs, toys and hats. On the wall at the entrance to the studio, you can place the best shots of the required direction. Perhaps clients will pick up ideas for the session from these photos.
t
Step 5
Having studied the target audience, come up with the personality of the studio, its difference from competing salons. It could be an idea derived from the name, logo, or specialization and type of activity.
Step 6
If there are no additional utility rooms in the studio, conditionally divide the entire space into zones. You need a snack corner with a kettle and microwave. It is good to have a sofa or sofa to relax. The studio is your second home, personal comfort and convenience should be taken care of.
Step 7
Design a work area with a desk, chair, and computer. You will be able to process photos there, communicate with clients, solve business issues. Also take care of the client's dressing room, where he can change and clean himself up before shooting. It is important that there is a toilet in the studio. It's good to have a shower, especially when photographing bodypainting. In this case, you will also have the opportunity to do "wet shooting".
Step 8
When setting up a photo studio, avoid variegation. Try to equip the salon in a minimalist style, in dark or gray colors. Use neutral shades on floors, ceilings, walls. Avoid glossy objects and paints that reflect light, and go for matte.
Step 9
Think about how you can quickly re-equip the room, change the scenery if you need to change the picture. To do this, use clothespins, fishing line, panels with different backgrounds that diversify the shooting.


