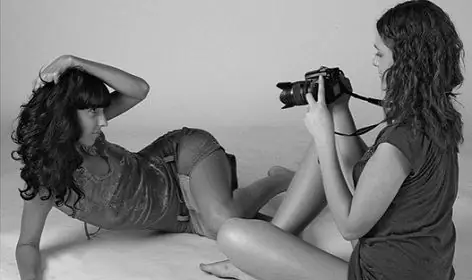
Photographic art is a form of plastic art that combines the achievements of technology and painting. Cameras, which at the dawn of their existence had a small set of functions (only black and white photographs, only film, other limitations), are now common almost to the essentials. And you can arrange a photo session with the help of even a weak device even in an apartment.

Instructions
Step 1
Shooting is divided into landscape (outdoors, outdoors) and studio. Shooting in any room can be classified as a studio.
Step 2
Check out some photos of the studio plan. Pay attention to the background: it is uniform, usually white. Other neutral colors are sometimes used: gray and black. To create a special effect, you can also use a chromatic color (from the spectrum), but in this case the model's clothes should be in harmony with it, not merge, but also not cause too aggressive contrast. A wide long curtain without ornament and pattern can serve as a background.
Step 3
To create the relief around the model, not the background, but the interior is used. In this case, it is better to remove all personal belongings from the frame.
Step 4
Lighting. The best option is natural sunlight, especially in the morning or evening. It should not blind either the camera or the model, that is, it should be on the side or above the photographer and the model. if there is no sun, you can use lamps, removable flashes and reflectors - special round discs covered with white cloth or foil, reflecting light in a subdued, less aggressive form.
Step 5
The clothes and makeup of the model depend on the artistic idea of the shoot. The general rules of color science apply to the choice of shades.
Step 6
The construction of the frame largely depends on the idea, but it is better to place the main objects (including the model) in the center of the frame, sometimes a little higher. Experiment, place the camera and the model in any position you deem necessary, do several angles of the same position, you will definitely understand what exactly you need.


