Copyright protection on the Internet applies not only to books, music and paintings, but also to photography. Every photographer who publishes his pictures on the network faces the risk of theft of photos - webmasters, as well as ordinary Internet users, download photos and then post them on their sites, use them for collages, web pages design and many other purposes.

Instructions
Step 1
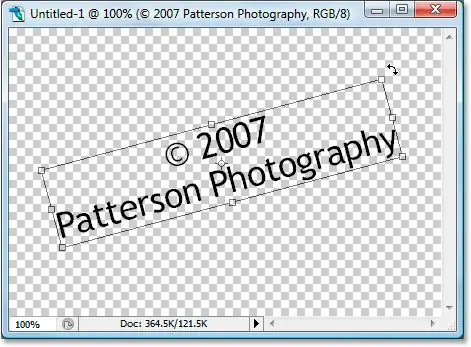
In order to protect your copyright, place a copyright in the form of a watermark on your photos before publication. Load in Photoshop the photo you want to publish on the Internet, and then select the Horizontal Type Tool from the toolbar.
Step 2
In the desired place in the photo, left-click and mark a rectangular area for the future text. Enter text - for example, your website address or your name.
Step 3
Click on the Toggle the Character and Paragraph panels button on the top panel to edit the appearance of your lettering - select it and set the desired font, font size and color, and you can also highlight the inscription with italics, underlining and other formatting tools.
Step 4
After customizing the appearance of the lettering, adjust the location of the copyright on the photo - it is best to move it to the bottom corner of the image. If you want the copyright to be placed vertically instead of horizontally, select the Transform section from the Edit menu and click on the Rotate 90 CCW option.
Step 5
To move the text, use the Move Tool. To call it, click on the V key on your keyboard. After that, adjust the caption so that it is semi-transparent - adjust the transparency of the text layer in the layers palette. For a watermark, it is enough to set the opacity to 50-60%.
Step 6
In order to subsequently automate the process of copyright setting on multiple photos, you can create a macro or Action. To do this, create a new macro by clicking the corresponding button on the macro panel and click the record button.
Step 7
After that, repeat all the above steps to create and place a copyright and click Stop. The macro will be recorded, and now, in order to apply it to any photo, you just need to select it from the list and press the play button.


