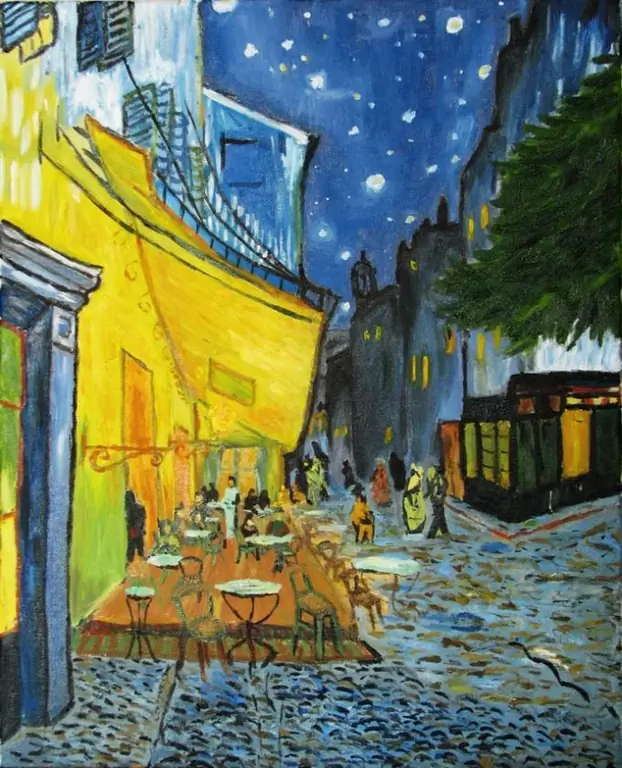
Are you good at drawing and want to showcase your creativity to someone else? Or do you want the beautiful paintings from the exhibition to remain not only in your memory, but also on your computer? In any case, the skill of photographing pictures is very useful to you.

Instructions
Step 1
In order to get the picture as clear as possible, it's best to use a tripod. You can also use the self-timer to avoid camera shake when you press the shutter button - this way you completely avoid "blur" in photos.
If you don't have a tripod, a stabilizer built into your camera or lens can help you. But even in this case, you will have to fix your hand, leaning your elbows on some stable surface, and try to find the optimal shutter speed and aperture values.
Step 2
Pay attention to the lighting: it must be sufficient. The picture must be positioned so that the light falls from the side and slightly from the front. Do not use the built-in flash as it produces strong reflections. The ideal lighting for photographing a painting is natural daylight on a cloudy day. If you are taking a picture of a painting at home, then bring it to the window or take it out onto the balcony. Artificial and natural lighting should not be combined.
Step 3
Do not forget to correctly adjust the White Balance, because the accuracy of the color reproduction of your painting depends on it. Most cameras have several modes: daylight, incandescent, fluorescent, shade, etc. Choose a mode that works best for the lighting around you, or set it to "auto" (but remember that this is not always accurate).
Step 4
To get a photo without rounded distortions on the sides, you need to move some distance from the picture (from 2x to 4-5 meters) and use the zoom. In addition, the camera should be held parallel to the picture, at the level of its center. If these rules are not followed, the picture may turn out in the form of a trapezoid, which, however, is quite simple to correct in a photo editor.
Step 5
Try to make the picture of the painting occupy the entire space of the photo. It is undesirable for the frame to fall into the frame - it can give shadows. If there is something superfluous in the photo, you can crop the image in any graphic editor.


