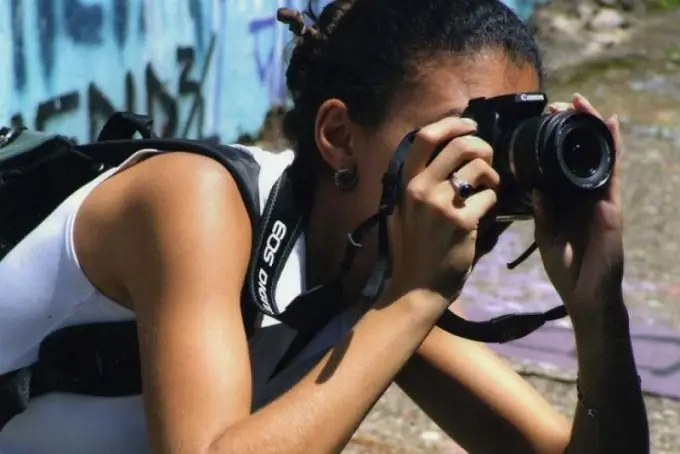
The art of photography is sometimes called light painting. This is because the final image is obtained by registering light. The quantity and properties of its receipt are called exposure and require careful calculation.

It is necessary
a camera with a built-in exposure meter or an external exposure meter
Instructions
Step 1
In photography, exposure refers to the amount of light recorded by a light-sensitive material per unit of time. This value is determined using three parameters: sensitivity, shutter speed and aperture. For quality photography, you need to find the right balance of all these elements.
Step 2
Increasing any exposure parameter by one stop reduces or doubles the amount of incoming light. For example, a scene shot at ISO 100, a shutter speed of 1/60 second and an aperture of f 5.6 appears to be very bright. It is necessary to make the frame darker. To do this, you can reduce the ISO value to 50, shorten the shutter speed to 1/125 of a second, or reduce the aperture value to 8. To further reduce the amount of light, you can use either changing one selected parameter or several at once.
Step 3
It is almost impossible to choose the correct exposure without measuring the light intensity. Even if there is a certain practical experience, scenes with complex lighting come across, and it is simply impossible to evaluate it without special devices without error. All modern cameras have a built-in exposure meter - a device that measures light. At the end of its measurements, the camera itself will choose and set the exposure parameters. There are several ways to measure light: center-weighted, matrix, and spot. Most often, the first method is universal. In this case, the calculation is based on the fact that the priority is the object in the center of the frame. If you are not satisfied with the exposure, use bracketing and correct it. Plus values will lighten the frame, while minus values will darken the frame.
Step 4
The most accurate way to measure exposure is with an external exposure meter. Unlike the built-in one, it has a more complex circuit and can measure incident light in addition to reflected light. This property significantly affects the quality of the measurement.
Step 5
Once you've determined the amount of light needed for proper exposure, choose which parameters to achieve it with. If the subject is in motion, it is best to use a faster shutter speed to avoid blurring. By decreasing the aperture value, you can decrease the depth of field and vice versa. The lower the sensitivity value, the more midtones and shades you will get in the photo. Determine what will look more impressive in the scene being shot, and change the exposure, increasing the necessary values by steps and proportionally decreasing the unnecessary ones.
Step 6
A histogram graph can tell a lot about exposure. With a harmonious fixation of light, it will not crawl out over the edges and will remain inside the frames.
Step 7
Try to shoot only in raw format. Even with a significant metering error, using a raw converter, you can correct the shortcomings. This is especially true for low ISO shots. The higher the sensitivity, the more accurate the exposure will have to be.


