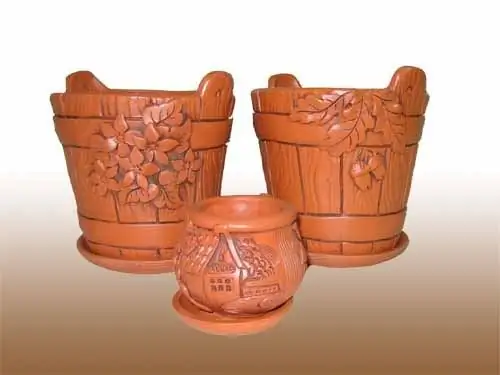
Clay modeling is a useful and enjoyable activity. Clay cleanses and heals the body, and the process of making a pot is both the joy of creativity and a great way to calm the nerves. In addition, clay has many useful properties, for example, food is stored better in earthenware dishes, and flowers planted in clay pots grow faster. You can mold a clay pot yourself, the main thing is to have the materials necessary for this and some free time.

It is necessary
- - clay;
- - water;
- - a rag or newspaper.
Instructions
Step 1
Before starting work, prepare the necessary raw materials: take a piece of clay and start kneading it like dough. Make sure that the clay is homogeneous and free of air bubbles. If the lump is hard, add a little water to obtain the desired consistency. You should have a not very dry lump of clay that will not stick to your hands. First, practice and try to mold balls, then a cylinder, small figures of animals, this will help you feel the plasticity and pliability of clay. After you learn how to sculpt simple figures, you can move on to sculpting more complicated products, in this case - pots.
Step 2
First of all, you need to make the bottom of the pot, for this, roll out the clay, make a pancake out of it and cut out a circle of the size you need. Then you need to stick to the bottom of the wall. Take a small piece of clay and make a rope with a diameter of 0.5 cm out of it. You can make many of these harnesses at once or roll them out as needed. Be sure to make sure that the clay does not dry out, moisten the sides and bottom of the pot with water.
Step 3
Stick one end of the tourniquet to the bottom and lay it around the perimeter, gradually building up the walls. When the tourniquet is over, stick another to it and continue sculpting. When forming the walls, make sure that the pot turns out to be even. If you want the pot to have some special shape - for example, narrowed or widened walls - apply flagella with a uniform inward or outward deviation. Continue sculpting until the pot is fully formed.
Step 4
At the end of the work, wrap the finished product in a newspaper or rag and leave it upside down for a couple of days so that it dries well, otherwise it will not be possible to burn it.
Step 5
When the pot is completely dry, you can proceed to the final stage of work - firing. The first firing evaporates excess moisture from the product, and the second one makes it durable. First, you need to slowly, within 2-3 hours, heat the product to 300 degrees. At the same time, there should be no uneven heating and sudden changes in temperature, as this can ruin all your work.
Step 6
Then comes the second firing - increase the temperature to 580 degrees and hold the pot for 15 minutes, then raise the temperature to 900 degrees for another 15 minutes. When the firing is complete, let the product cool down to room temperature and remove it.


