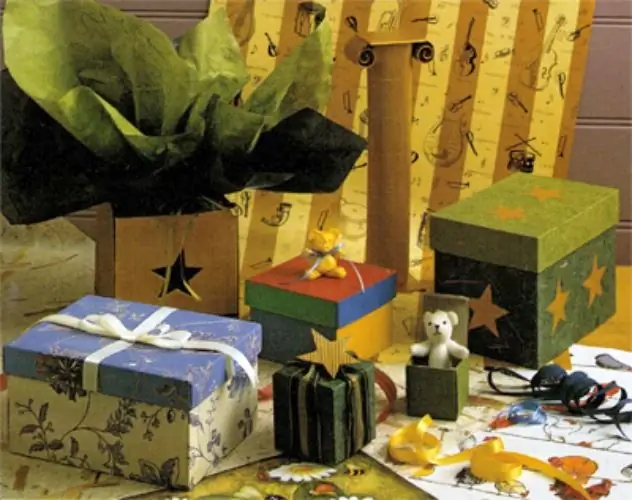
How many different necessary little things can be stored in beautiful paper boxes. You just need to show a little creative imagination and make a separate box for each thing yourself.

It is necessary
- - colored paper (Whatman paper or cardboard);
- - ruler;
- - pencil;
- - glue.
Instructions
Step 1
First, decide on the desired size and shape of your box. In accordance with these requirements, calculate the dimensions of the sides of the box (height, length, width). Based on the dimensions obtained, draw a shape on a sheet of paper consisting of a bottom, sides and a strap to secure the sides of the box (as shown in the illustration). If the box is large, you can use a Whatman paper.
Step 2
Before cutting the box out of a sheet of paper, you can decorate it with various inscriptions or drawings. To do this, print the necessary illustrations on a printer to a PC. Pre-place these pictures on a sheet of paper, for example, in a text editor Microsoft Word, so that the images turn out in accordance with the idea either on the sides of the box, or randomly spread over the entire surface of the box. You can also make explanatory notes about what exactly will be located in this box.
Step 3
Having prepared the pattern of the box, cut it along the lines of the marking. Now, along the marked fold lines, use a ruler to fold (bend) the edges of the box.
Step 4
Then fold the box from the resulting blank, starting with the alignment of the bottom parts. The bottom is formed from 4 parts sequentially folded in a circle. Apply a thin, even layer of glue to the outside of the strap to hold the sides of the box together. Then press the prepared side of the strap against the inside of the opposite side edge of the box. Hold until the surfaces to be bonded adhere, and, if necessary, until the adhesive is completely dry.
Step 5
To form an even and beautiful top edge of the box, fold the top edges of the sides inward. They can also be glued to the inside of the outside of the box. This will provide additional reinforcement to the sides of the box and reinforce the side seam. At the bottom, you can separately cut out a sheet of paper equal in shape and size to the very bottom of the box. Place it inside the box (you can stick it).


