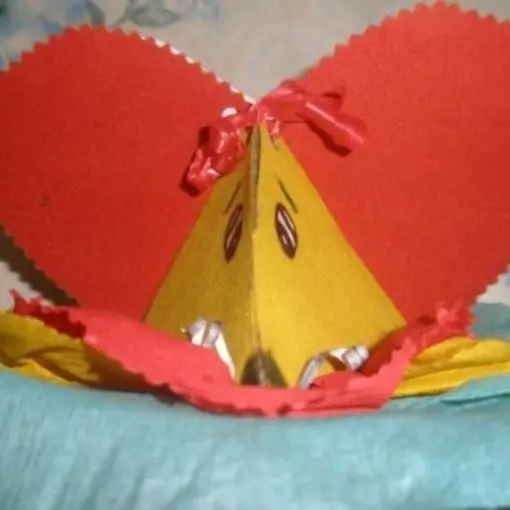
Making a box for a small souvenir yourself will be much more pleasant than buying it in a store, for this you can take a mouse with a fluffy collar as a basis. For work, you will need cardboard, braid, scissors and glue.

In the store, the counters are replete with all kinds of packages for small souvenirs, but it will be much more pleasant to present a gift in a self-made box, which can also become a pleasant decoration of the room.
Sitting down to make an "important" mouse with a graceful collar, you can enjoy not only yourself, but also deliver it to children who will not refuse to help you. For the manufacture of crafts, colored cardboard will be used, which can be replaced by its corrugated counterpart. Small households will cope with the task of tracing the template. But if a fourth-grader is growing up in your house, he can be entrusted with making patterns, a young needleworker will be able to cope with this on his own.
Pattern preparation
In order to get a pattern for a box, you should remember the lessons of mathematics, since knowledge describing the concepts of an equilateral triangle and a sweep of a three-dimensional figure will come in handy.
For a paper box, you have to choose a sheet of cardboard, and then you should determine its width. Next, you need to use white paper, making a square out of it, the side of which is equal to the width of a sheet of cardboard. An equilateral triangle is to be cut out of the resulting square. Using the folding method, you need to outline the center point of each side.
Turning the workpiece over, you should circle the triangle on the cardboard, marking the center points of the sides. Next, the marked points should be connected using a ruler. After that, you can depict the ears of the mouse by drawing large semicircles, one side of the semicircle should touch the apex of the triangle, the other - the central point of one of its sides.
Now you can start the process of cutting the workpiece, following the outer marks.
Using a regular pen, emboss along the fold lines. In order to ensure that the embossing is even, a ruler must be used.
The inner sides of the ears should be decorated with elements made of cardboard of a different color.
Now you can create 4 holes using the hole punch. Two holes should be located on two opposite sides of the ears, and the other two holes should be punched above the apex of the triangle, at the corners of the ears.
Collar making
The mouse should have a collar, which should be cut out of cardboard, giving the element a circle. The dimensions of this part of the box should be larger than the base of the product.
The collar can be decorated at will. In conclusion, the box should be folded, threading the tape through the holes, and the collar should be fixed to the head of the mouse.


