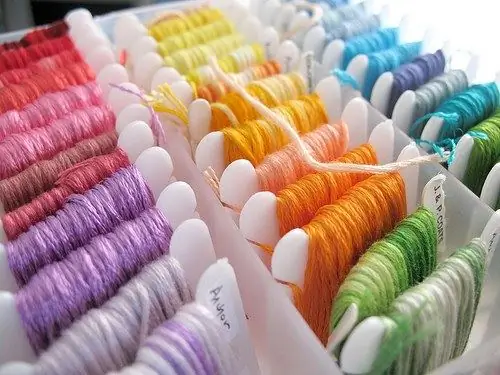
When shop diagrams for embroidery get bored, the idea appears to create a unique design from a personal photo or a subject you like. There are several ways to convert a picture into a scheme for embroidery, depending on the complexity of the image.

It is necessary
- - a file with the original picture;
- - the Internet;
- - special program;
- - color printer.
Instructions
Step 1
The easiest way to convert a picture into a pattern for embroidery is to use an online service (for example, https://www.kpecmuk.ru/translate/online/). It is especially suitable for beginners because able to handle only a simple plot.
Step 2
Find a suitable image no larger than 500 KB. It can be a cartoon character, a kitten, a flower, etc. Specify the number of stitches for the larger side. The smaller computer will calculate on its own. Click Next.
Step 3
You will be offered several options for schemes. Indicate the manufacturer of the floss, choose the pattern with the most suitable number of colors for you. Use the "Translate" button to get the schema.
Step 4
The second way to create a diagram is using Adobe Photoshop. For good quality, choose an image with a size of 640x480 pixels or more. Load the picture into the editor.
Step 5
Choose Filter> Pixelate> Mosaic. Make the size of the cells 5. Confirm the selection. Play around with the brightness level using the Contrast command (Image> Adjust). To determine the number of colors to use, select Posterize and set a value between 5 and 20. The higher the level you set, the more threads you will need to use.
Step 6
Click New. Set the following parameters: background - transparent, size 5x5 pixels. Make it increase up to 1600%. Use black as your foreground color. Using a pencil (size - 1 px) draw a line. Translate the keyboard to English, use the command Ctrl + A to select the picture. Next, click Edit> DefinePattern.
Step 7
Go back to the modified image for the schematic. Use the Edit> Fill command. From the list provided, click on “use Pattern”. Set the transparency of the image to around 50%. Save the resulting circuit with a new name. Print on a color printer.
Step 8
Use the dedicated software to create a high-quality, professional circuit. For example, Stitch Art Easy. This program makes patterns for embroidery from images of any complexity. In it, you can independently choose the desired number of colors, the size of the future scheme, and even the icons displayed on it.


