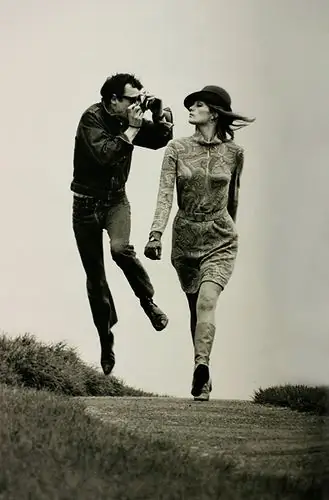
Many people are very fond of taking pictures. They shoot with mobile phones, digital soap dishes, SLR cameras, even camcorders. And the photographs end up being pretty sometimes. Although most of the photos fly into the trash. And often there are very important moments simply due to the fact that the picture was not successful. How to learn to photograph so that there are many more successful shots? To do this, you need to know a few simple rules.
It is necessary
- - camera
- - fantasy
Instructions
Step 1
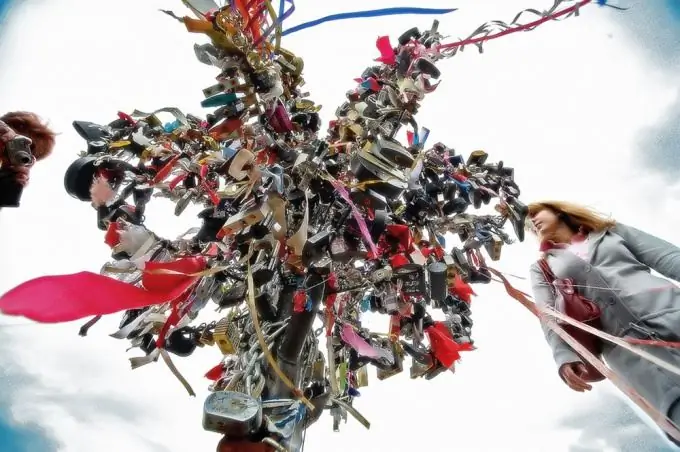
Above all, never shoot in a single shot and from one vantage point. To do this, you need to have a fast flash card with good storage capacity and a large battery or spare battery. Be sure to take multiple shots of the same object or event. Try to move around as much as possible and shoot from different angles. Do you want to get an unusual shot? Lie on the ground or climb higher - a non-standard angle will ensure success.
Step 2
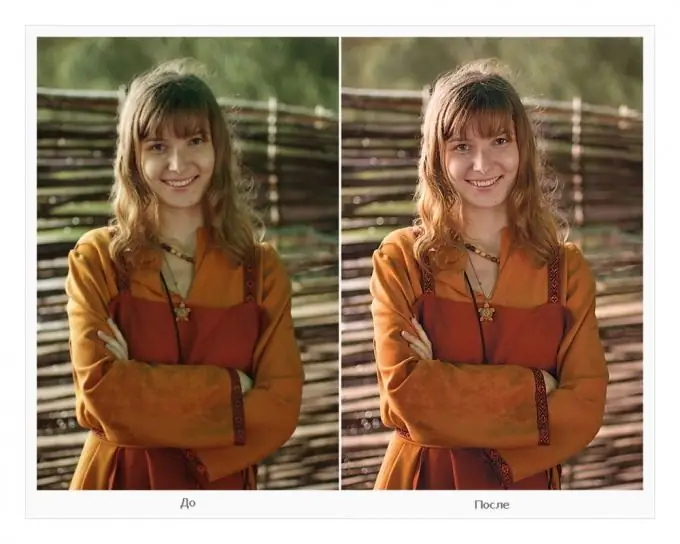
If your camera supports the ability to shoot in RAW format, be sure to use this. If the resulting images contain errors in exposure, white balance, etc., it will be very easy to correct them using special programs, and the frame will be sent to the photo album instead of the basket. In general, don't be afraid to use Photoshop. Cameras sometimes make mistakes and the pictures do not come out as you intended. Photoshop will help you.
Step 3
If you use automatic shooting mode, not bad. But try to learn how to set all the parameters manually. Sometimes a machine cannot do what a person can do. Get to know the ISO settings. On sunny days when the subject is well lit, use a low ISO: 100-200. In gloomy weather or at dusk, ISO 400 should be set. In the evening - 800 or higher. At high ISO values, digital noise appears, which spoils the frame.

Step 4
White balance can be set to automatic. Cameras will identify it correctly in most cases. Difficulties can arise if the lighting is complex (for example, light from a lamp and light from the sun). Basically, this setting helps to correctly display the colors in the photo.

Step 5
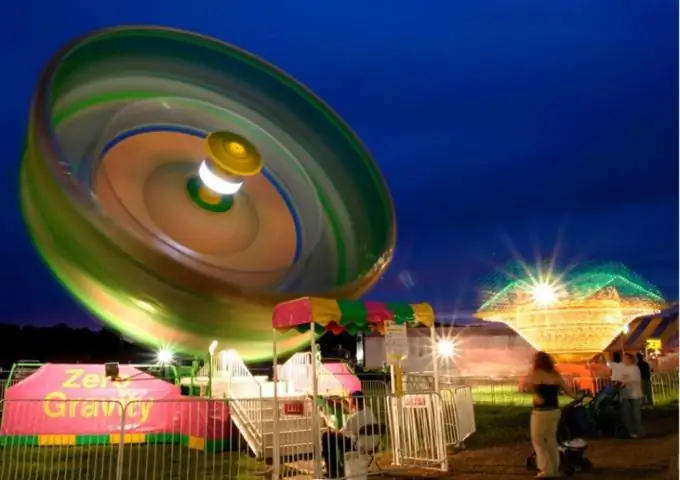
The shutter speed can be adjusted depending on what you want to get. If you want to freeze motion, use a fast shutter speed of 1/100 or faster. Very unusual results can be obtained with long exposures. Try it.
Step 6
You should also open and close the diaphragm, starting from the targets. An open aperture lets in more light into the frame, allows you to make the shutter speed faster, blurs everything except the subject on which it focuses. Good for portraits. A closed diaphragm allows less light to pass through, requires a slower shutter speed, and makes the entire area of the photograph clear. Suitable for landscapes.
Step 7
Using these simple tips and mastering the manual control of the camera, you will get much more interesting and high-quality pictures. And the moment that you wanted to capture will no longer be spoiled, but will delight you and your friends.


