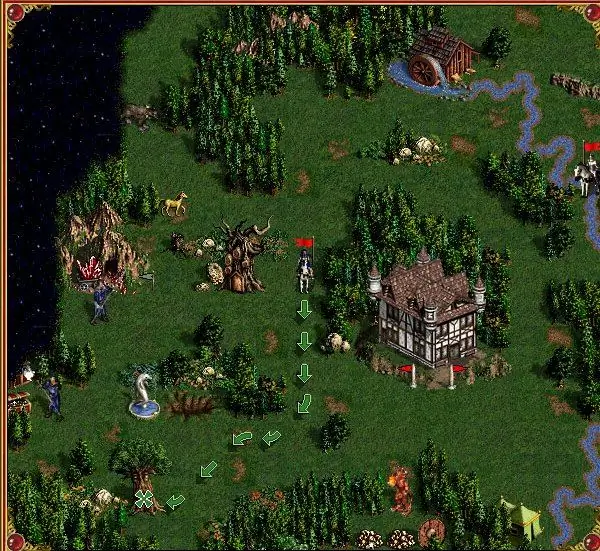
Creating your own game scenario is a significant advantage of the "Heroes of Might and Magic" strategy. Any player is given the opportunity to create the game world at will. One of the most important components of the map is the game landscape. Depending on its implementation, the difficulty of passing the scenario of the game being created will largely be determined. Competently constructing a landscape and foreseeing all the nuances of the development of the game in it is the main task for a true master. A dedicated map editor allows you to quickly master this process.

It is necessary
Full installed package of the "Heroes of Might and Magic" application
Instructions
Step 1
Open the Map Editor of the Heroes of Might and Magic application. To do this, in the directory of the installed game on the disk, run the file named h3maped.exe for execution. A graphical editor window with a newly created map for the game will appear on the screen. To the right of the large map is a mini-map for an overview of the entire game world, and below it is a panel of map objects.
Step 2
The new map is initially filled with water, there is no land on it. Create on the map the continents and land islands you need. To do this, turn on the "Place terrain" mode on the lower toolbar. Select the type of land to be created in the object panel on the left of the map.
Step 3
In the desired place on the map, use the mouse to distribute the ground over a part of the water surface. To do this, press and hold the mouse while moving until the entire continent of the desired size is created.
Step 4
Create a terrain for the land. Add grass, rocks, trees, shrubs, grove thickets, swamps and other elements using the appropriate modes in the bottom toolbar. To do this, turn on the mode, grab the desired object on the object panel on the left of the map with the mouse and place it in the required position on the map. In this case, the point to be placed on the map must be free, otherwise the object will not be installed.
Step 5
Use the Roads Tool and Rivers Tool modes to create a network of roads and rivers across the game landscape. When installing landscape elements, keep in mind that roads serve to increase the speed of the hero's movement around the map. In turn, rivers, bushes, trees and other obstacles create difficulties in the passage of the map.
Step 6
Many obstacles, small in themselves, nevertheless occupy adjacent cells of free land for their location. When placing further game objects, check how much they will be accessible due to the nearby landscape objects. If necessary, move any elements to other places, grabbing them with the mouse and releasing them over the free point of the new position. Having finished creating the landscape, save the new map using the "Save Map" menu item.


