It would seem that finding a T-shirt with a suitable pattern in a store is very easy. But if you are a fan of interesting things, you can use a graphic editor and create it yourself. Having previously made a T-shirt with a pattern you like using the program, you will clearly see how it will look with the original image.

Instructions
Step 1
Open a graphics editor, create a new document, the dimensions of which will be 600X600 pixels. Use the polygonal lasso to create the outline of your future T-shirt. Select and fix a foreground color. Press Ctrl + Shift + N to open a new layer. Press Alt + Backspace to fill the selected area with color. Use the O key to activate the Burn Tool. Darken some areas along the outline of the shirt.
Step 2
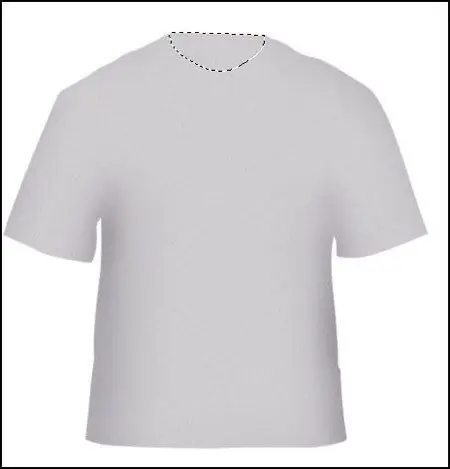
Go to the menu Filter - Noise - Add Noise. Adjust the Amout option - 0.6%. Activating the polygonal lasso again, select the area shown in the picture. Then, without removing the selection, open the Burn tool and darken the edges of the selection a little. Make a similar shading in the folds under both sleeves of the T-shirt.

Step 3
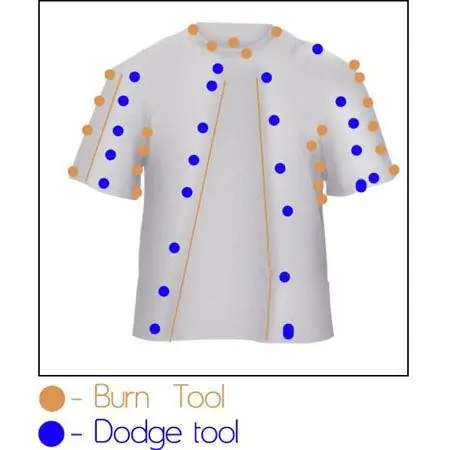
Add some light and shade. For lightening use the Dodge tool, for darkening, respectively, use the Burn tool. In the illustration, the blue dots are fixed to the areas to be brightened, and the orange dots to the areas to be darkened.

Step 4
Open a new layer. Activate the Pen tool in outline mode. Draw an outline where there is usually a seam on the neck of the T-shirt. Take a brush about 2px in size, go to paths, select Stroke Path. Make the outline black. Also depict the "seams" on the sleeves.

Step 5
Make a selection at the bottom hem of the Select - Modify - Feather sleeves. Find the T-shirt layer now. Reduce the brightness to 10. With a new layer open, select the pen and draw a path over the selection made on the sleeve. The foreground will be white. In the "Paths" tab, select Stroke Path.

Step 6
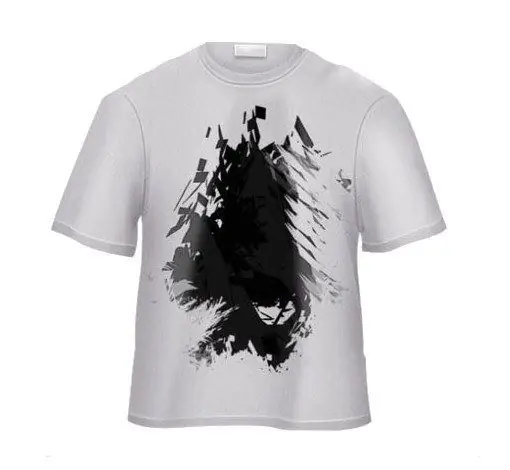
Select the picture that you will put on the T-shirt, move it to the main document. If desired, modifications can be made to the picture itself. The result is an original T-shirt.


