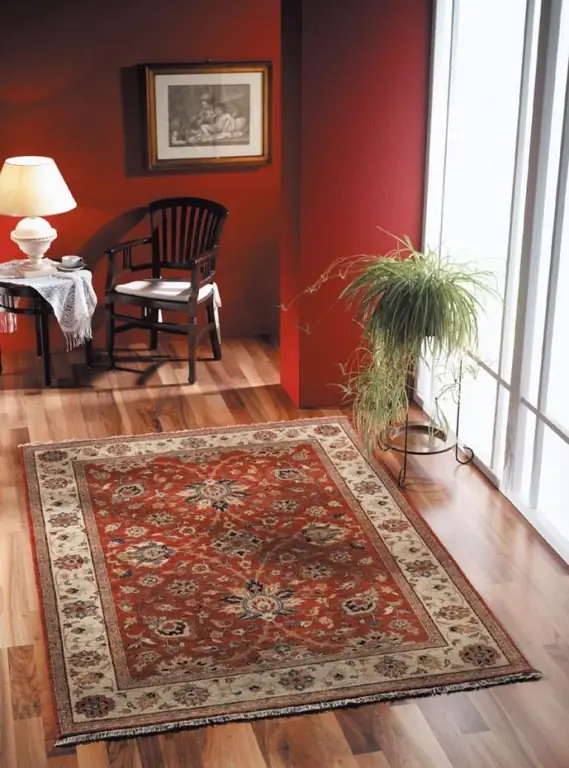
Skillfully crafted handmade carpets have always been appreciated. They give the home a special charm. A beautiful rug will decorate the bedroom and living room, but you can make it by giving free rein to your own imagination. To do this, you need to master some skills. During the time that the art of making carpets has existed, the technology has remained practically unchanged.

It is necessary
- - frame;
- - stick 20 cm long;
- - woolen threads of different colors;
- - threads for the warp;
- - needle;
- - scissors;
- - a piece of cardboard.
Instructions
Step 1
Prepare materials for a small rug. Make a frame. It is a rectangle whose dimensions are slightly larger than the dimensions of the future product. Try to keep the corners strictly straight. The lower bar is rigidly attached to the sides, the upper one is inserted into special grooves. Parallelism is regulated by special wedges. The frame is usually fixed to the bed.
Step 2
Decide if you want to make your rug with or without pile. In any case, you need to determine the approximate weave density in order to divide the pattern into cells. The best option is 22 knots per 10 cm for a tufted carpet. However, it is better to start with a smooth, simple weave. When performing a drawing, it is not individual warp threads that are counted, but pairs. On some machines, the warp threads are pulled over the nails. But quite often they are simply wrapped around the upper and lower frame slats. It is better to mark both slats in order to maintain parallelism.
Step 3
The thread for the warp should be twisted and strong enough. It can be cotton, linen or synthetic. For pile rugs, choose a colorless backing or one that matches the color of the woolen thread. For a lint-free product, unpainted cotton or linen is most suitable.
Step 4
Pull the thread. It must be firmly attached to the lower bar. Lower the top rail slightly. Tie the thread to the bottom rail at a distance of about 10 cm from the sidewall, then pass it strictly vertically, throw it over the top rail and lower it vertically down. Bring the thread from under the bottom bar. Repeat the procedure, finishing shaping the base about 10 cm before the second sidewall. If you started winding the base from the bottom, then the thread should end at the bottom.
Step 5
Make edges between the sidewalls and the outermost threads of the warp, pulling a few more threads. They are needed to keep your rug from curling.
Step 6
Match woolen threads by color. Before you start weaving, check if they are shedding or not. Of course, you will not have to wash the rug often, but this is not excluded. It's best to avoid subtle color transitions the first time. Choose bright threads in primary colors. It is better to wind the yarn into balls.
Step 7
Draw a drawing. If you don't know how to draw, find a suitable image on the internet. It is desirable that it be a picture with large fields, with a small amount of detail. The picture can be processed in Adobe Photoshop, making it black and white and removing the excess. Distribute the color fields. They can be colored with a pencil or felt-tip pen for clarity. Break the pattern into cells. The process is roughly the same as preparing a cross stitch or tapestry pattern. In each cell, 1 pair of warp threads are taken into account, and the cross-weave threads (weft) are counted by the number of spacers.
Step 8
Use wedges to raise the top plank slightly to tighten the warp threads. Identify odd and even strands. The distance between them is usually called the pharynx. Insert a long round strip between the even and odd threads. It should be slightly larger than the width of the warp. For large carpets, a strip with a diameter of about 2.5 cm is used. In the manufacture of products from thin threads, its function is often performed by a cardboard strip.
Step 9
Attach the same thread to the right rail as for the warp. It is needed in order to unite pairs of threads. If the rug is wide, you can roll it up in a small ball for convenience. Bring the thread forward, wrap the first pair of warp threads with one turn, lead to the next pair and wrap it too. Thus, pull the thread to the end. Tie the end to the left side. Do the same from above.
Step 10
Mark the even pairs. This can be done using short threads. This is necessary so as not to get confused in the process, because during interlacing there is an alternation - first a pair of threads is in front of the weft thread, in the next row it will be at the back.
Step 11
Roll the duck yarn into small balls. It is very convenient to use large enough shuttles for tatting. Lay the first row from left to right. Pass the thread as you would for a normal weave, first in front of a pair of warp threads, then behind. Press the row of weft to the edge, that is, to the thread with which you wrapped the loops. In order for the rows to fit tightly, a special beater with several metal teeth is very often used. Weave the next row from right to left. Pass the weft thread over a pair of warp threads if it was underneath in the previous row, and vice versa.
Step 12
In lint-free carpets, the perimeter pattern is usually formed by alternating threads of different colors. But nothing prevents you from making a floral or geometric ornament according to the scheme. Don't forget to just secure the threads. Weave the main pattern according to the picture.


