How often do you return home halfway, forgetting to take your phone or car keys? The experts advise: put things that you need to remember to take in a conspicuous place that you will not pass by when leaving the house. I propose to sew such a convenient organizer that you can hang on the front door handle. You certainly will not pass by her.
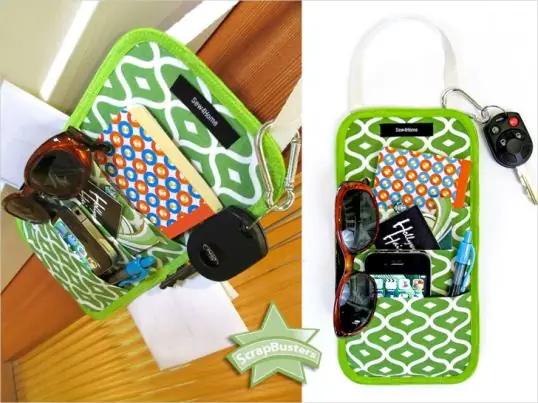
It is necessary
- - thick fabric
- -braid
- - oblique inlay
- -plastic folder
- -sewing machine
Instructions
Step 1
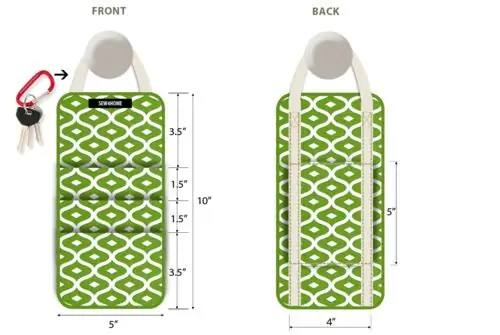
Our organizer has a size of approximately 13 cm by 25 cm. We make an appropriate pattern out of paper. Cut out two parts of the organizer from the fabric - the front and the back - using a pattern.
Step 2
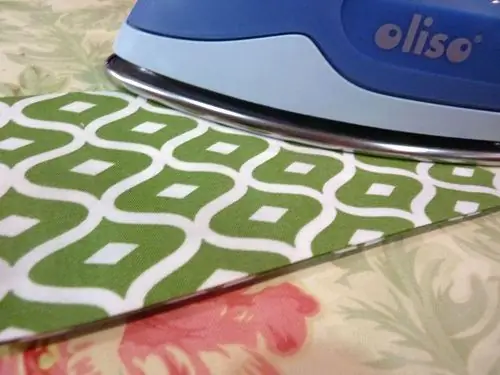
We make pockets. Cut out 2 rectangles measuring 13 cm by 20 cm. Fold them in half to make 13 cm by 10 cm. Sew on the sides, turn them out, iron them out. Cut out a 13 cm by 18 cm rectangle and do the same.
Step 3
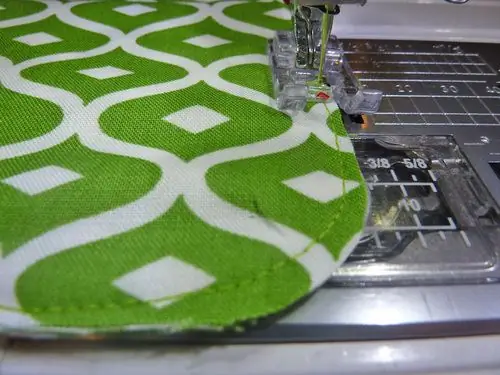
Now we sweep the prepared pockets to the front of the organizer with the closed sides up. We make rounded corners of the organizer and sew everything on a typewriter.
Step 4
Cut out a 12 cm by 28 cm rectangle from the fabric. This will be the back pocket. Fold it in half to make it 12 by 14. We sew its sides, leaving a hole, turn it out, sew up the hole, iron it out.
Step 5
Now you need to measure the braid so that it is enough for the eyelet so that you can hang the organizer on the doorknob. Sew the braid to the pocket.
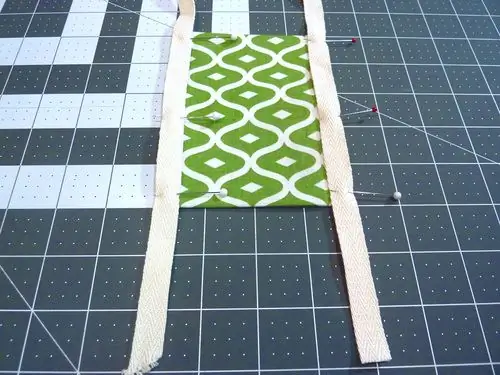
Step 6
Now we sew the pocket to the back of the organizer from the top and bottom so that it turns out to be through on the sides. We also sew on the braid.
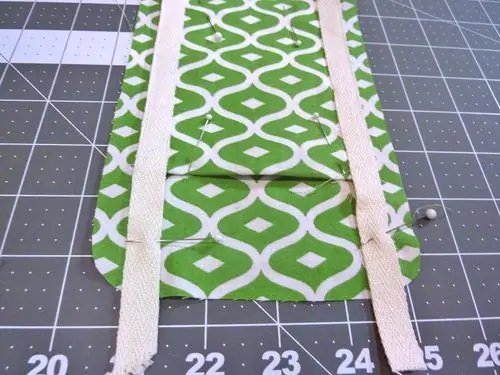
Step 7
We fold both parts of the organizer with the wrong sides inward and stitch them, putting a base between them, for example, cut from an old plastic folder. We process the edges with an oblique inlay. Done!


