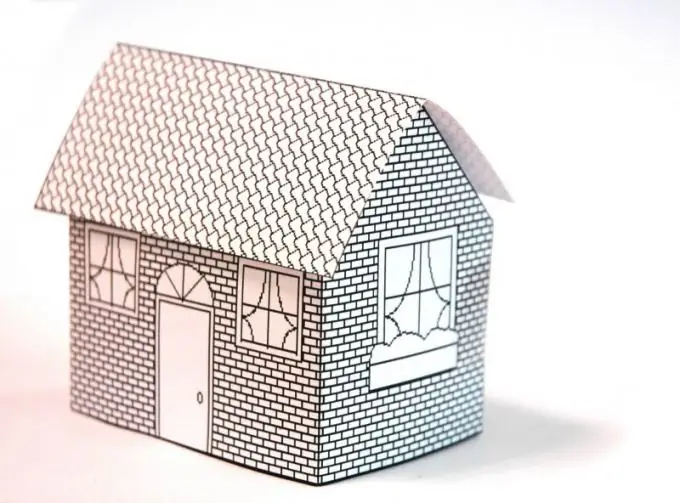
A visual demonstration makes even the most complex explanation clear. Therefore, if you need to demonstrate your idea in an accessible and effective way and infect others with the idea, supplement your project with a model glued from paper.

Instructions
Step 1
Find out all the parameters of the object that you want to represent in the form of a layout. Write them down and scale them down.
Step 2
Mentally decompose the object into simple geometric shapes that make up it. Unfold each of the shapes, taking into account the proportional aspect ratio of its sides in reality.
Step 3
Add 2-4 mm to the dimensions of the parts into which other elements of the layout will be inserted (depending on the thickness of the paper).
Step 4
On each sweep, add the valves to connect the parts of the layout. They should be rectangular with rounded corners. If any part needs to be rounded, divide the valves into small segments (1-3 cm), leave 2 mm of free space between the segments.
Step 5
Transfer the preliminary drawings to the paper from which you will create the layout. It should be stiff enough (the larger the layout, the denser the paper), but not brittle so that all folds remain perfectly even. For medium sized models, watercolor paper or multi-colored pastel paper will work. You can also pick up cardboard, but it is important to find one whose surface is non-slip, porous - this material is better seized by glue.
Step 6
On the wrong side of the paper, mark the folds with a pencil. Attach a ruler to such a segment and draw a line with a blunt hard object. This will provide a clear direction of the fold and no creases.
Step 7
Cut out all the parts of the layout. To get even cuts, use scissors with blades slightly longer than the line. Open the tool as far as possible and "go" the segment with one click. Parts can also be cut with a breadboard knife. Attach a ruler to the line, set the knife perpendicular to the surface of the sheet, the angle between the blade and the cut line should be approximately 30 °. Move the knife from beginning to end without pressing. Then repeat the line two or three more times to make sure the paper cuts through. After each finished piece, break off the used piece of the blade to keep the knife perfectly sharp.
Step 8
Bend the parts along the intended directions. Assemble the mock without glue to make sure all parts fit. Then grease the valves with glue one at a time and connect the elements to each other. Leave the finished layout to dry for a day.


