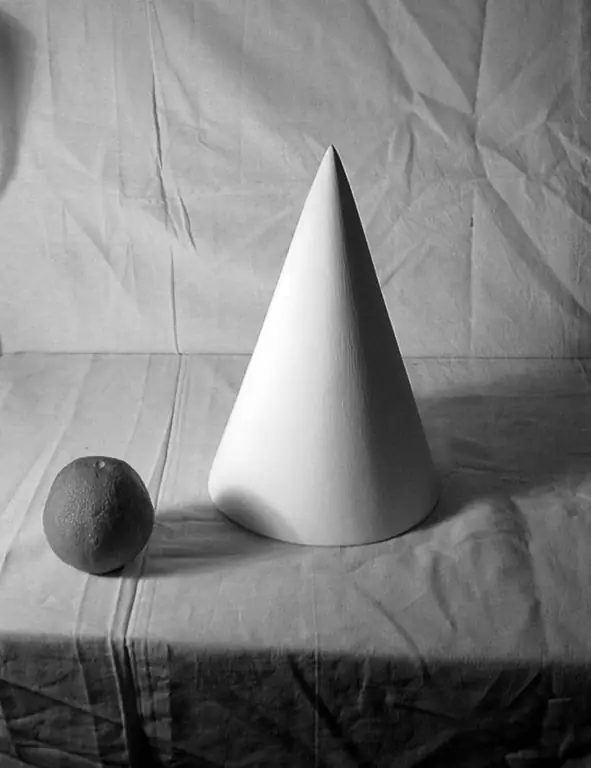
All artists start by drawing completely nondescript primitive figures. What for? It would seem, what could be interesting in a ball with a shadow, for example. And you try to draw this and you will understand - it is not so easy to draw this ball, and even with a shadow. Drawing geometric shapes is nothing more than learning and consolidating fundamentals like perspective and vanishing point. Let's polish our knowledge or gain new ones by drawing a cone.

Instructions
Step 1
The main thing in drawing is the projection of the conceived object and its representation in geometric shapes. It's easier to fill your hand this way. So for you, the cone will start with the cylinder. Start drawing the simplest one - a standing cone. So, draw a rectangular plane, side view, which will serve as the base for the ellipse of the cylinder. Draw vertical guidelines from the corners and cut them with horizontal lines parallel to the base. You got a box on a smaller base. Draw a line for the eyes and mark the vanishing point. To do this, continue all the horizontal lines to one point. Do not remove these markings until the final decorative measures.
Step 2
Start shaping the base of your box into a rounded shape. Draw two diagonals exactly in the center of the base. From the center, draw a vertical guide to the top edge. This will be the center line of the cone. Now cut off the edges of the base by drawing curved lines, connecting the points of contact of the diameters with the sides of the base. You should get a circle or an ellipse, it all depends on the angle you choose and the length of the sides of the base. Do the same with the top base. You have mastered the technique of drawing a cylinder. But we continue and you start to turn the cylinder into a cone.
Step 3
Draw two oblique lines from two opposite sides of the base to the vertical center point you marked on the top ellipse (circle) of the cylinder. You have marked the boundaries of the cone and you can safely remove the remains of the cylinder.
Step 4
Stay focused on the vanishing point throughout your work and use the guidelines actively. They are the key to your success. Erase all the construction lines when you have already drawn the cone. Add a shadow using light uneven hatching, reinforcing the rules for placing the shadows.
Step 5
Feel free to hone your craft by drawing these geometric shapes. You cannot learn to read without knowing the alphabet. So you will not paint a masterpiece without grinding techniques on the cones.


