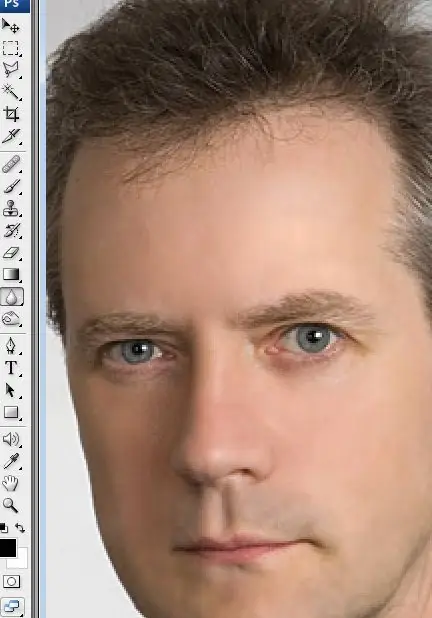
Often, a good photo taken on a bright sunny day is spoiled by an overly saturated shadow falling on the face of the person in the frame. With the help of the graphics editor Adobe Photoshop, this shadow can be lightened, making the image of a person in a photograph more natural and lighter. There are several ways to remove excessive shadow from the subject's face.

Instructions
Step 1
Duplicate the layer with the original photo and work on the copy. Open the Image section in the menu, select the Adjustment subsection and select the Shadow / highlight option from the drop-down list. You will see a window for correcting highlights and shadows.
Step 2
Move the slider while observing the changes in the photo until you are satisfied with the result in the form of lightened and darkened areas. If some elements of the photo become lighter or darker, although you did not aim for this, take a background eraser and erase unnecessary areas.
Step 3
Another way to remove shadow from the face is to use the Dodge tool found in the toolbar on the left side of the program. Just like in the previous example, duplicate the layer and select the desired tool.
Step 4
Adjust the dodge - set the exposure to 25% and set the range to midtones. Move the mouse cursor to lighten the necessary parts of the model's face.
Step 5
You can also lighten a photo qualitatively using layer blending modes. To do this, you need two identical layers - with the original and the duplicate of the image. In the Blending mode section, select the Screen option, and you will see that the photo has become noticeably lighter.
Step 6
By adjusting the opacity of the layer, you can slightly reduce the lightness. Use a large soft-edged eraser to erase everything except the face - this way, the photo will retain its original tones, and the face will become noticeably lighter.
Step 7
You can correct the light sources by opening the Render> Lighting effects option in the filter menu.
For the highest quality photo correction, it is best to use all the described methods, combining them in retouching and photo processing.


