A noisy photo is not a photo that screams with all its might. This is a kind of marriage, sometimes obtained due to poor initial shooting conditions. Blurry spots of red, blue, and green are distributed throughout the image, severely degrading image quality. There are several ways to get rid of this grainy noise.

Instructions
Step 1
The best way to deal with noise is to prevent it from occurring. Noise in pictures occurs in low light conditions, in which the camera or photographer is forced to raise the ISO values a lot. Already at ISO 400, extraneous artifacts appear in the photos, but if the ISO is raised to 800 or even 1600, you cannot avoid noise in the photo. Blurry clumsy spots greatly affect the quality of the picture; you can remove them both with special filters and with the tools originally built into the Photoshop editor.

Step 2
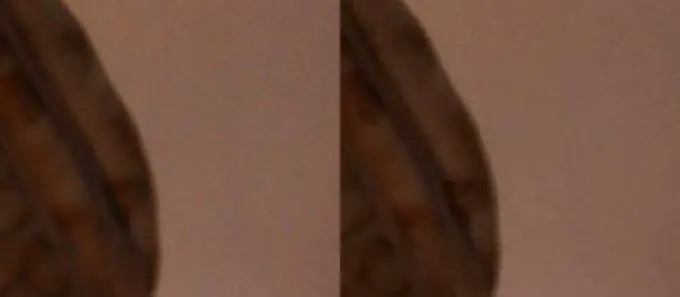
For clarity, we will not work with the entire image, but only with a small part of it, where the multi-colored noise is perfectly visible. The easiest way to get rid of it is to use a filter specially designed for this purpose. We move through the menu items as follows Filter - Noise - Reduce Noise. When working with a filter, a preview function is available, so you can set the parameters at your discretion, focusing on the resulting result. This method is the most famous and common, but there are other options.

Step 3
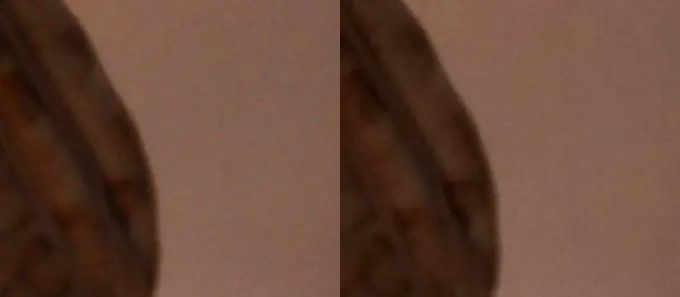
Convert the image from RGB space to LAB Color. This is done easily Image - Mode - Lab Color. In the layers palette go to the Channels tab, there you will see the Lab, Lightness, a and b channels. Apply the Gaussian Blur filter to both the last channels Filter - Blur - Gaussian Blur. The value of the filter parameters will depend on the size of the original image. After blurring both channels in this way, return the photo to its original color space Image - Mode - RGB Color. The result will be something like this

Step 4
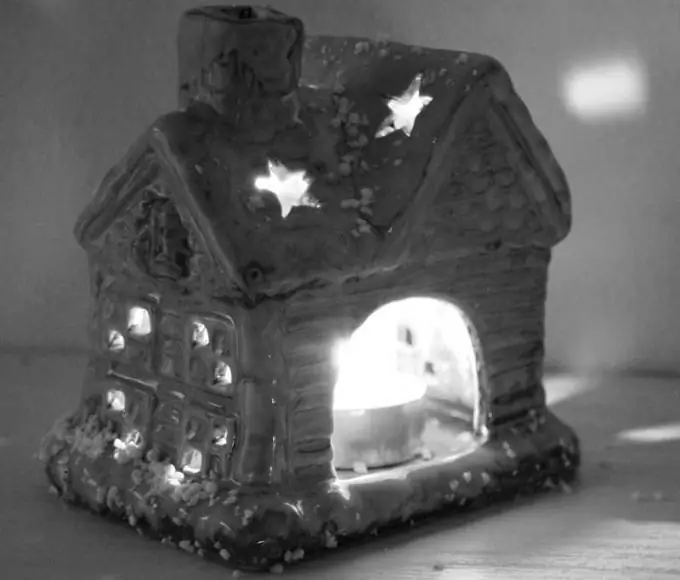
If the noises are so strong that none of the above options can cope with them, then you can make a knight's move, namely, discolor the photo. Desaturating the photo will discolor and noise, which means it will become less noticeable. A slight graininess can add a stylized effect to the photo.

Step 5
If you have to struggle a lot and for a long time with noise in different photos, then it is better to use special plug-ins that are used additionally in Photoshop. For example, Noisware or Dfine. With their help, noise is removed more purposefully, the effect of noise removal is much superior to the effects given by the built-in Photoshop tools.


