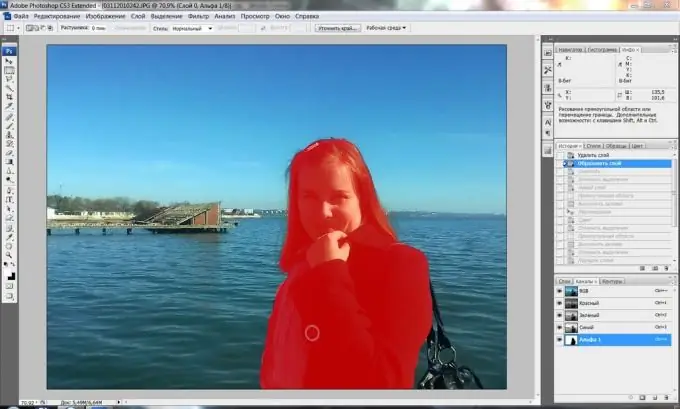
Often, a photograph that is excellent in composition is spoiled by completely unnecessary objects or people, without whose presence the photograph would be much more beautiful and harmonious. If it seems to you that the photo contains unnecessary objects, do not rush to throw it away. With the help of the graphics editor Adobe Photoshop, you can easily remove all unnecessary things from a photo neatly and discreetly.

Instructions
Step 1
In order to eliminate unnecessary fragments in the image, use the convenient Clone Stamp tool - it allows you to clone some parts of the image and paste them instead of others, masking unnecessary elements. Load a photo in Photoshop where you need to remove any object.
Step 2
Create a new layer and then click on the Clone Stamp icon in the toolbar. Hold down the alt="Image" key and left-click on the place of the photo that you want to make the cloning source - for example, on the sky, grass or sand.
Step 3
Select the desired brush size and begin to carefully paint over the extra object in the photo, from time to time changing the cloning source by clicking on the desired place while holding down the Alt key.
Step 4
Try to ensure that the print does not look artificial - for this, take different fragments of the photo as a source of cloning that are suitable for this. You can mix different shades of light and shadow, and the print will look realistic and invisible.
Step 5
If you painted over the excess, create a layer mask (Layer> Layer Mask> Reveal all), press the D key to set the default palette, and then adjust the softness of the brush and process in mask mode with black those parts that did not need to be covered with the cloned area., and white - those that, on the contrary, need to be shown.
Step 6
Exit mask mode and refine the photo - clone small details with a 4-5 px brush, enlarging the image so that the finished version is neat and looks authentic. You can add some seams and other small elements that are visible only at an increased scale on the photo by hand.


